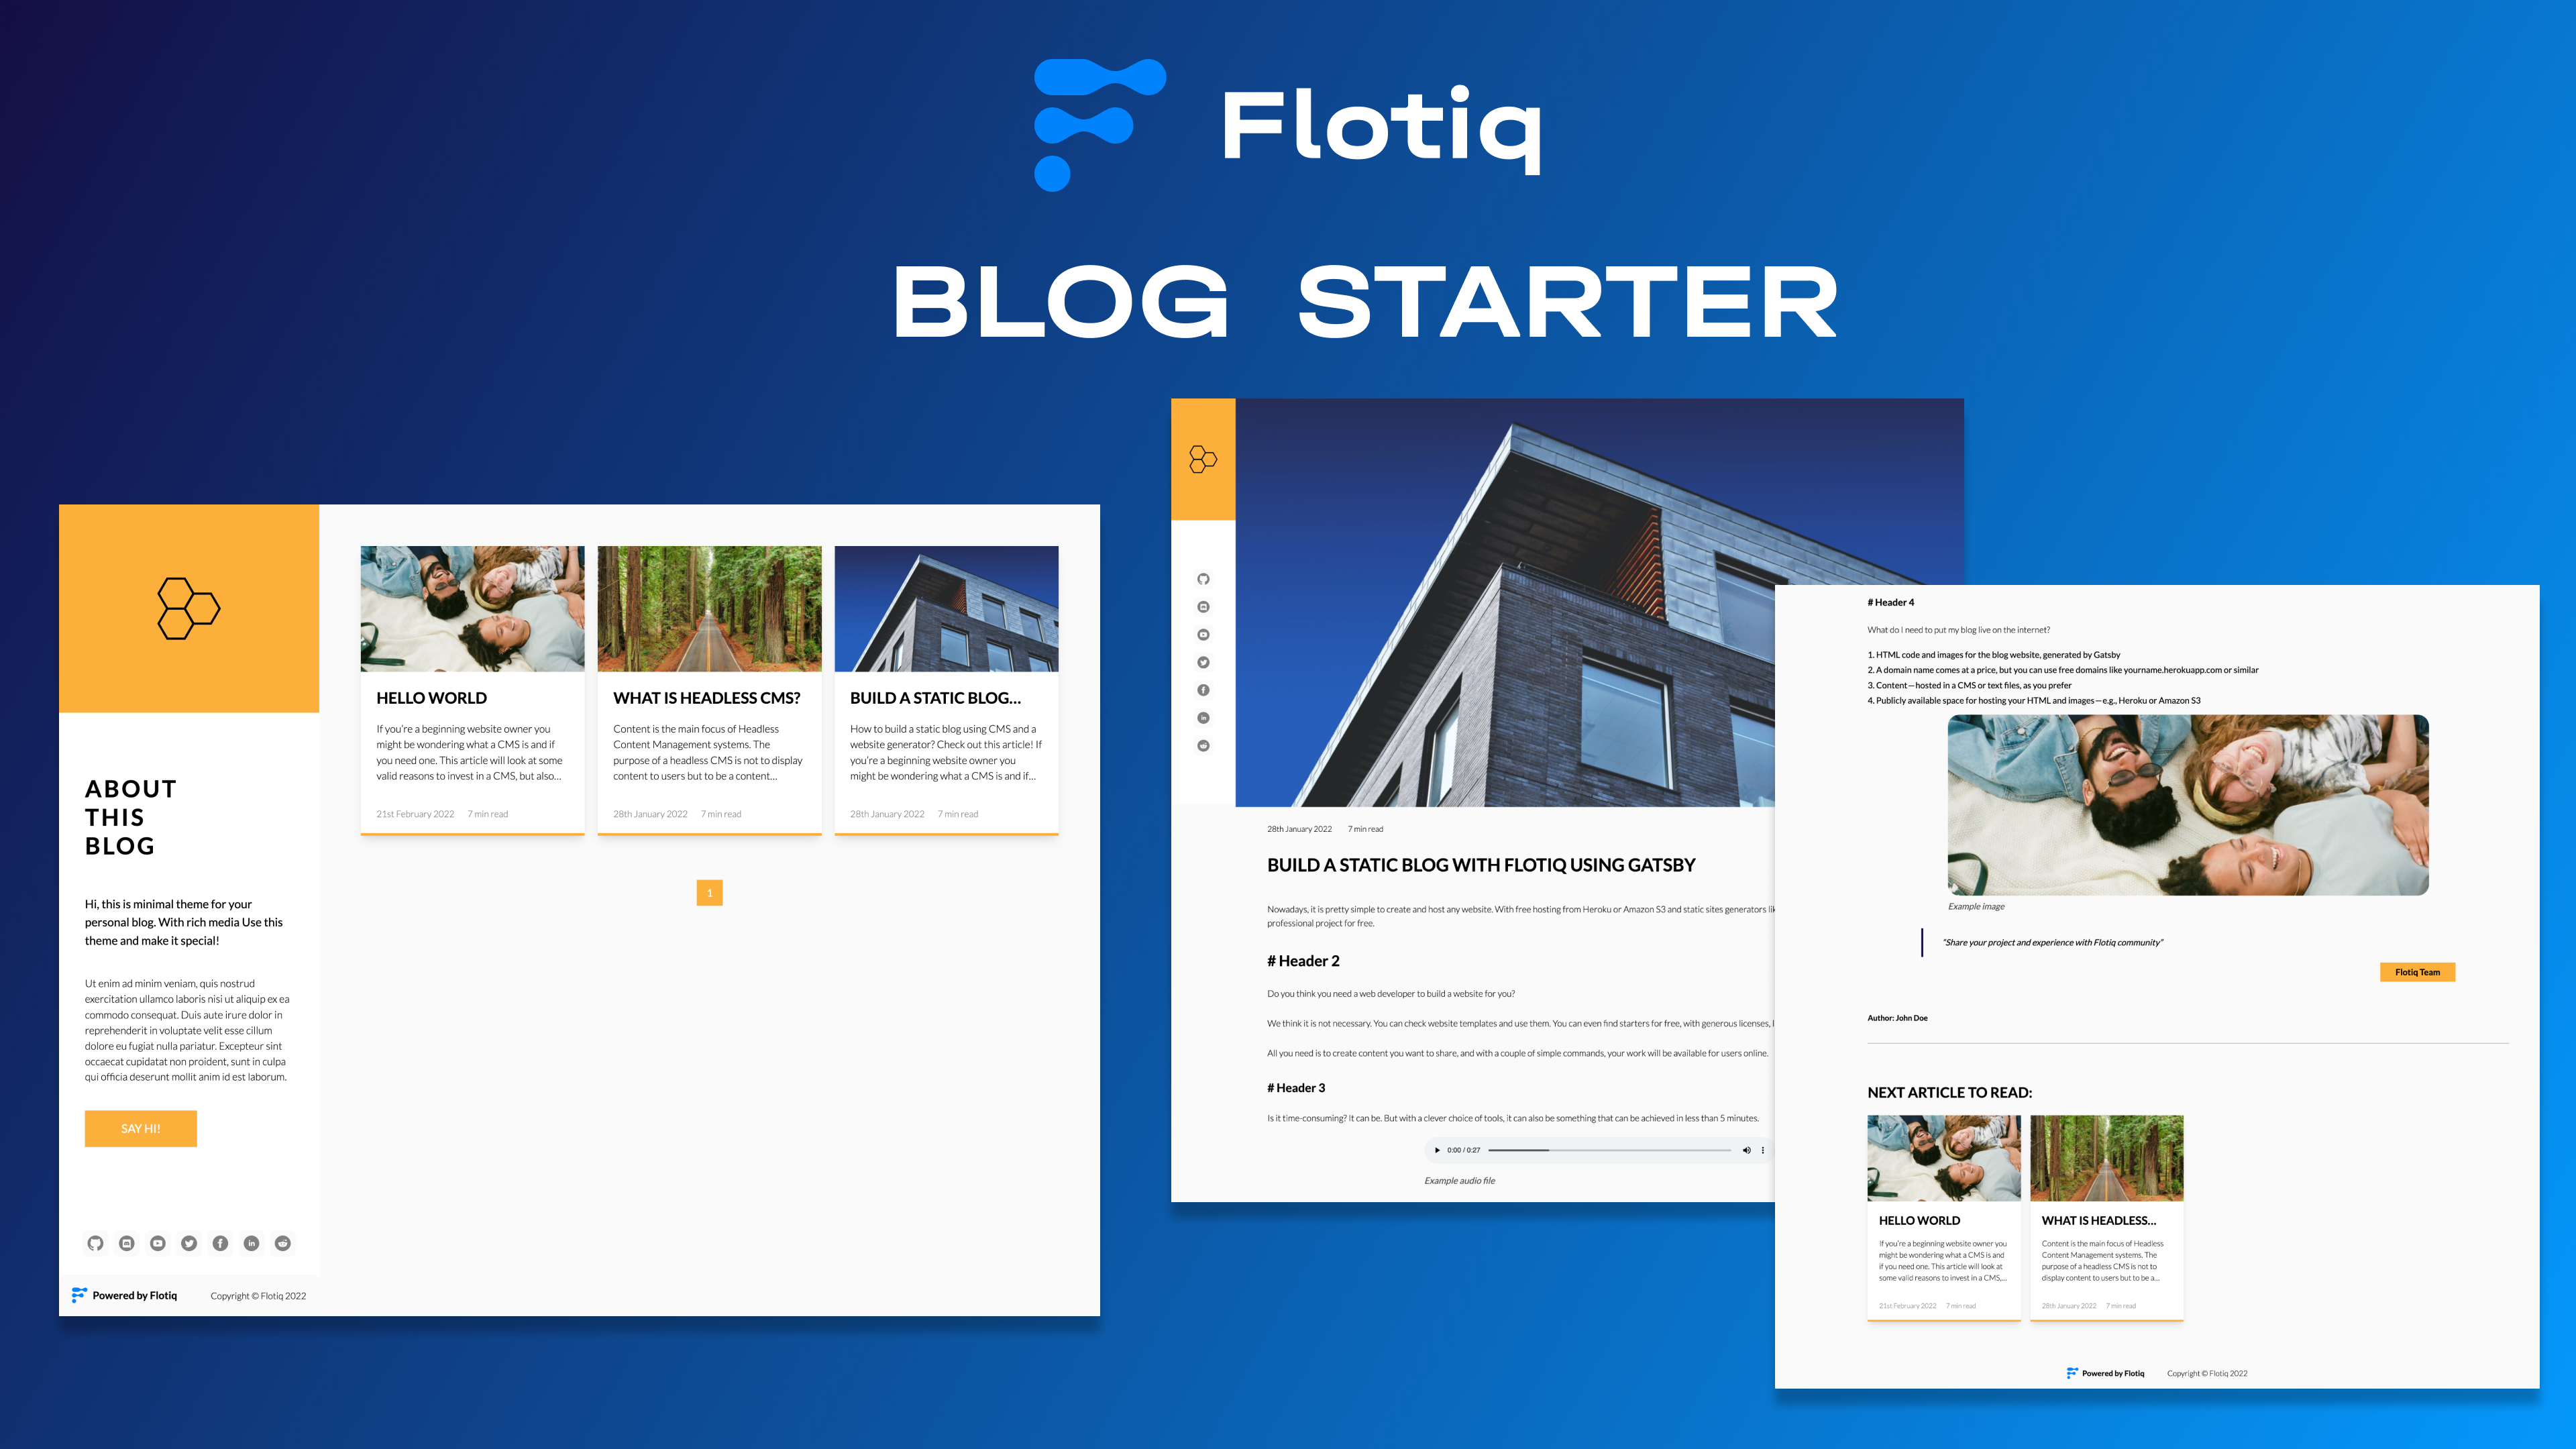


A flexible & minimalistic starter for personal or business purposes. We have designed this Blog starter for people who create nonstop content but still want to give a certain dynamism illustrated by images or even videos and audio files. With a modern grid, multi layouts & columns and easily customized design.
Kick-off your project with this blog boilerplate. This starter ships with the main Gatsby configuration files you might need to get up and running blazing fast with the blazing-fast app generator for React.
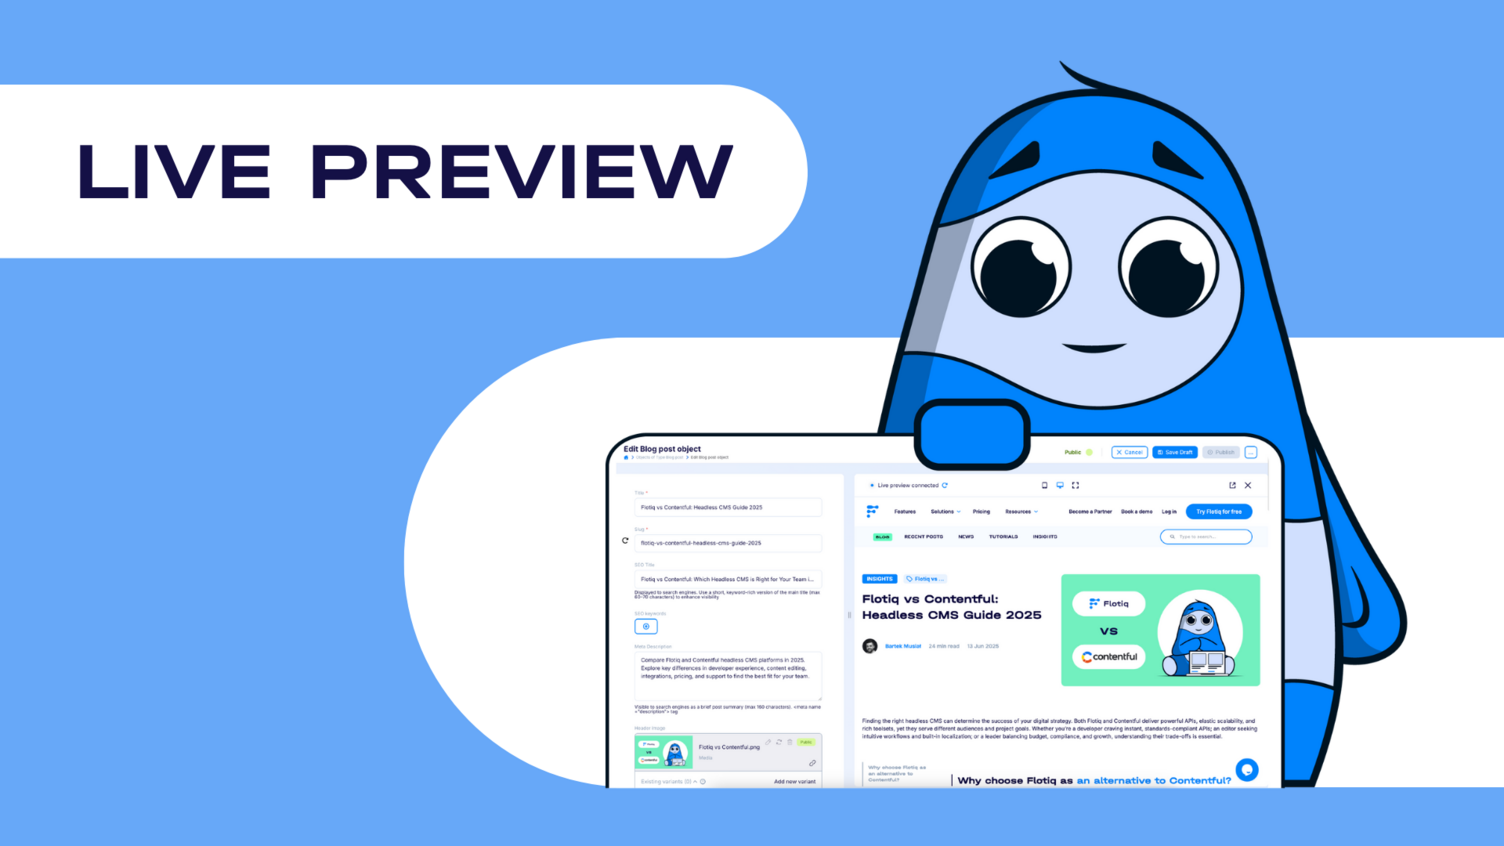
Live demo preview
Live demo preview
This project use:
- Flotiq - Headless CMS for string your data (You can create account here)
- Tailwind - utility-first CSS framework
- Flotiq source plugin - connector for fetching data from Flotiq
- Flotiq components for react - components library designed and written to work perfectly with Flotiq Content Objects and display your data beautifully
Quick start
1. Start the project from template using Flotiq CLI
npm install -g flotiq-cli
flotiq start [projectName] https://github.com/flotiq/flotiq-gatsby-blog-2.git [flotiqApiKey]- projectName - project name or project path (if you wish to start a project in or import data from the current directory - use .)
- flotiqApKey - Read and write API key to your Flotiq account
2. You can also start the project from template using Gatsby CLI
gatsby new my-hello-world-starter https://github.com/flotiq/flotiq-gatsby-blog-2.git3. Configure application
The next step is to configure our application to know from where it has to fetch the data.
You need to create a file called .env.development inside the root of the directory, with the following structure:
GATSBY_FLOTIQ_API_KEY=YOUR FLOTIQ API KEY GA_TRACKING_ID=YOUR GA TRACKING KEY4. Start developing.
Navigate into your new site’s directory and start it up.
cd flotiq-gatsby-blog-2/ gatsby develop This step is optional and is not necessary if you used flotiq-cli to start the project.
If you wish to import example data to your account, before running gatsby develop run:
flotiq import . [flotiqApiKey]It will add two example objects to your Flotiq account.
Note: You need to put your Read and write API key as the flotiqApiKey for import to work, You don't need any content types in your account.
—
5. Open the source code and start editing!
Your site is now running at http://localhost:8000!
Note: You'll also see a second link: http://localhost:8000/___graphql. This is a tool you can use to experiment with querying your data. Learn more about using this tool in the Gatsby Tutorial.
—
Open the flotiq-gatsby-blog-2 directory in your code editor of choice and edit src/templates/index.js. Save your changes and the browser will update in real-time!
Manage your content using Flotiq editor
You can now easily manage your content using Flotiq editor.
Made with love & passion by Flotiq.