


Dalia Bachmatiuk is a Frontend Developer at Flotiq. Holding an engineering degree in Biomedical Engineering with a specialization in Medical Informatics. Beyond her work in web development, she is passionate about aerial arts - including silks, hoops, and pole dance. She also enjoys crocheting and is an enthusiastic gamer, especially fond of platformers and roguelike games.
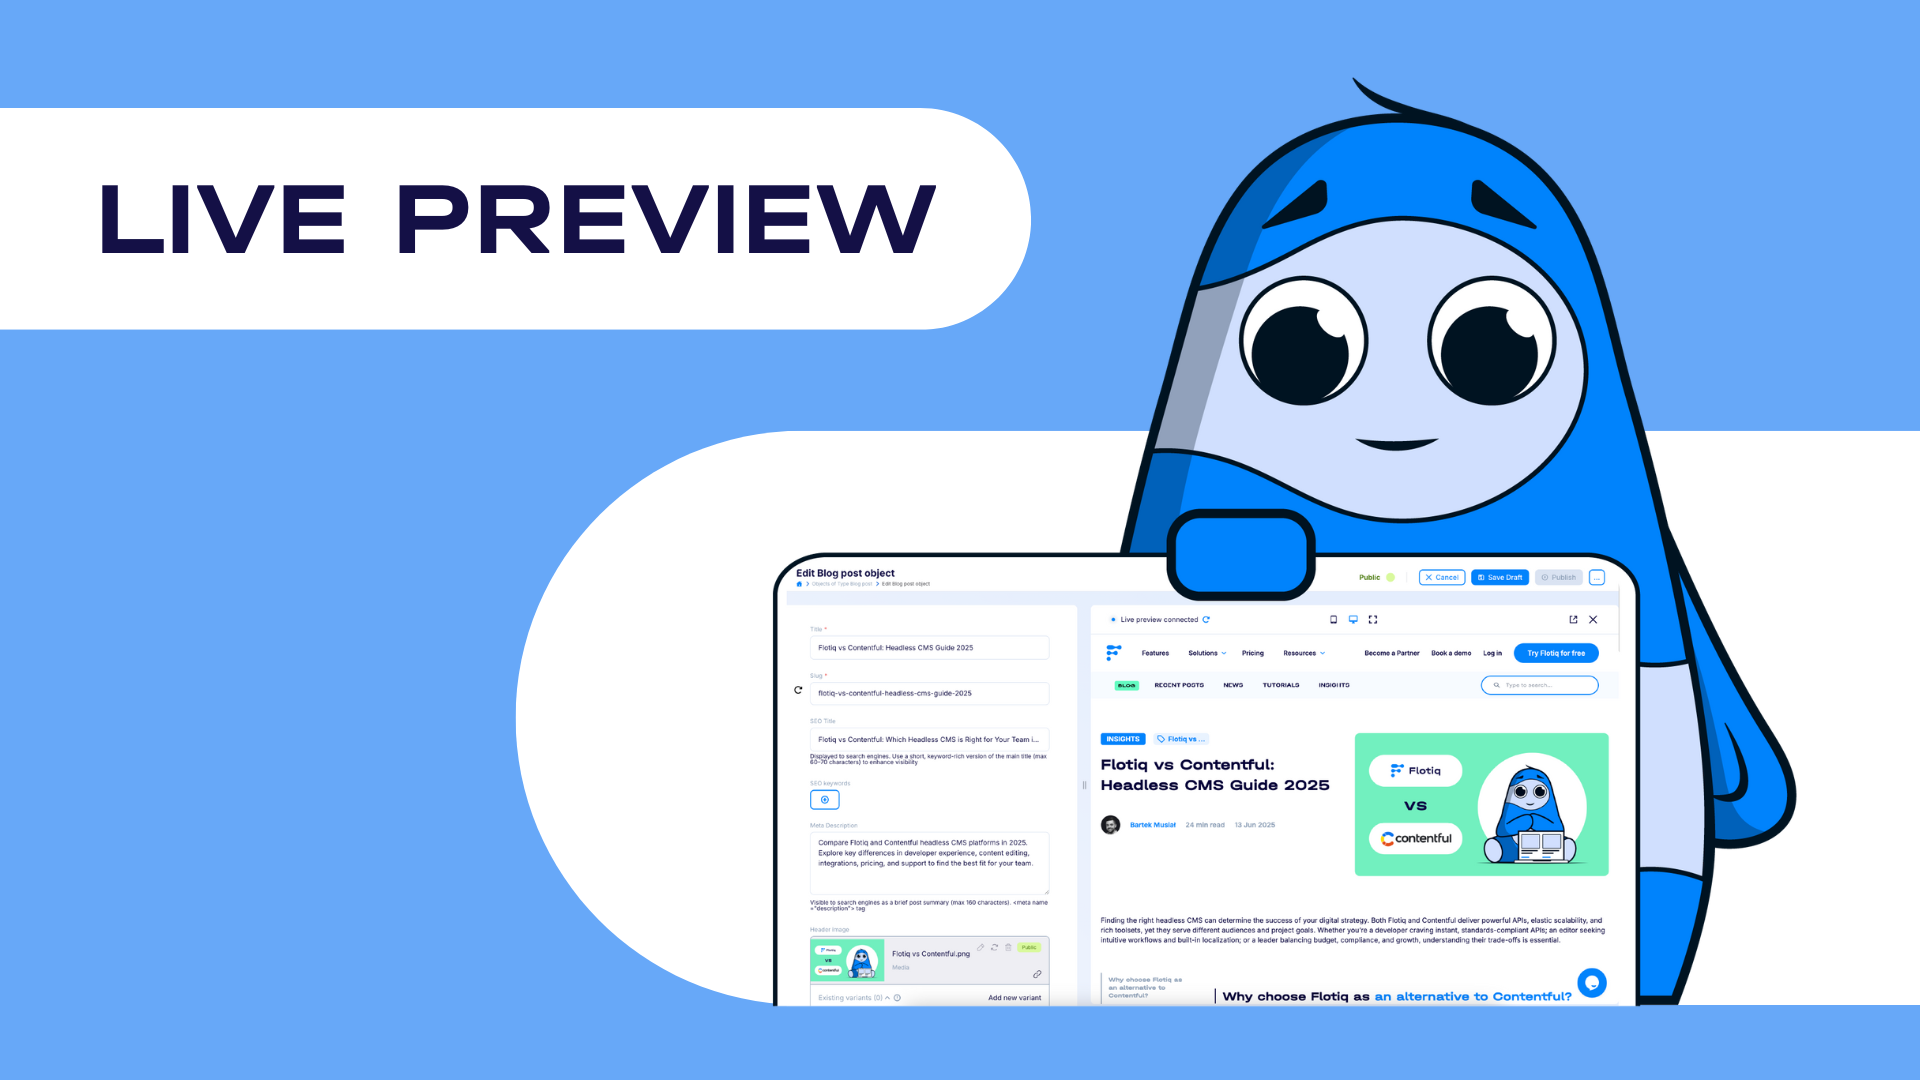
Looking to streamline your content editing and development workflow with a headless CMS platform? Discover how Flotiq’s Live Preview plugin enables real-time content updates, empowering developers and editors to collaborate seamlessly. In this guide, you’ll learn how to quickly set up a blog project for Next.js application, connect it to Flotiq, and unlock instant content previews - so you can build content more efficiently than ever.
Hi! My name is Dalia, and I’m a frontend developer at Flotiq. As developers, we often focus on code and performance, but I believe the experience of creating content should feel just as seamless and joyful.
That’s why, at Flotiq, our product development team focuses on building features that are practical and useful for both developers and content creators. I’m glad I had the chance to contribute by creating one of them - the Live Preview plugin and the integration package for Next.js that you’ll read about in this post.
This guide walks you through integrating the Live Preview plugin with a Next.js blog project. Whether you're a developer or someone who wears both hats, I hope this makes your workflow a little more magical and unlocks the power of live previews right inside the Flotiq editor.

When I first started working on the Live Preview plugin and the Next.js integration, I had no idea how challenging it would be. Honestly? It was tough. I hit roadblocks that made me question whether I could pull it off - bugs that refused to be squashed, configurations that made no sense, and moments where I just stared at my screen thinking, “Why isn’t this working?”
But I kept going!
I pushed through the frustration, learned from every obstacle, and slowly started to see things come together. And when it finally worked, when I saw the live preview updating in real time, it was one of the most rewarding moments of my development journey. I was proud. Not just of the code, but of the persistence it took to get there. Now, I used the live preview to write this blog post. It’s incredibly helpful to see exactly how my content will look as I write it. No more switching tabs or guessing how things will render. It’s fast, intuitive, and makes the whole process feel seamless.

Take a look at this early demo video where Paweł first showcased the Live Preview plugin in action.
Sure, it wasn’t perfect - switching to a new browser tab was still part of the process - but it gave our community an early look at what was coming. Some users even got to test the initial version and experience real-time updates before publishing.
Since then, we’ve come a long way. The current version of the Live Preview Plugin offers a much smoother and more satisfying experience, including full integration with the Flotiq editor, so you can preview your content live as you write.
The Flotiq Live Preview plugin enables real-time transmission of content changes from the Flotiq editor to your Next.js application. As you edit content objects (like blog posts), you can see changes reflected instantly on your site, without publishing or refreshing manually.
Features:
Now, you know what the live preview integration can achieve, so it's time to integrate it with your app! It’s one of those tools I wish I had years ago, and now I can’t imagine working without it.
The fastest way to bootstrap your project is with the flotiq-nextjs-setup package. This scaffolds a Next.js app tailored for Flotiq integration. This CLI tool saved me hours of setup - I highly recommend starting here!
Run the following commands to create a new Next.js project and integrate it with Flotiq:
npx create-next-app@latest [path-to-nextjs-project]
cd [path-to-nextjs-project]
npx flotiq-nextjs-setup
Supported create-next-app options:
| Feature | Yes | No |
| Next.js version >= 15 | ✅ | ❌ |
| TypeScript? | ✅ | ✅ |
| Tailwind CSS? | ✅ | ✅ |
| code inside a src/ directory? | ✅ | ✅ |
| App Router? | ✅ | ❌ |
| customized the import alias (@/* by default)? | ✅ | ✅ |
The CLI has an option to configure the Content Preview plugin. For live preview purposes, this plugin is not needed.
You now have a Next.js blog scaffolded and connected to your Flotiq workspace.

The CLI will configure the Flotiq API SDK for you. It is dedicated js/ts client for Flotiq Headless CMS API, which focuses on type safety and IDE autocompletion of user data types. With types generated, it enables fast and type-safe development with Flotiq as a data backend.
Once you make changes to your content types, you'll need to regenerate the SDK. To regenerate your SDK, go to the root of your project and run:
npm exec flotiq-api-typegen
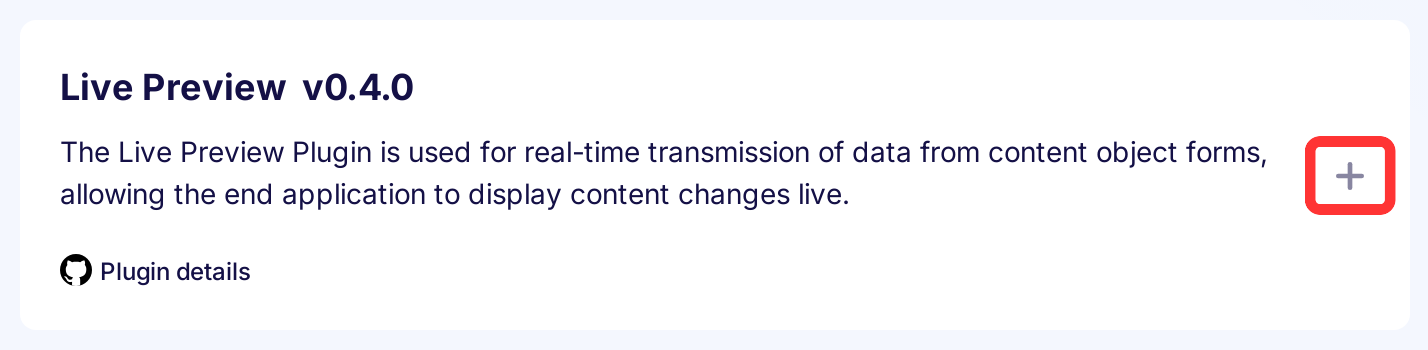
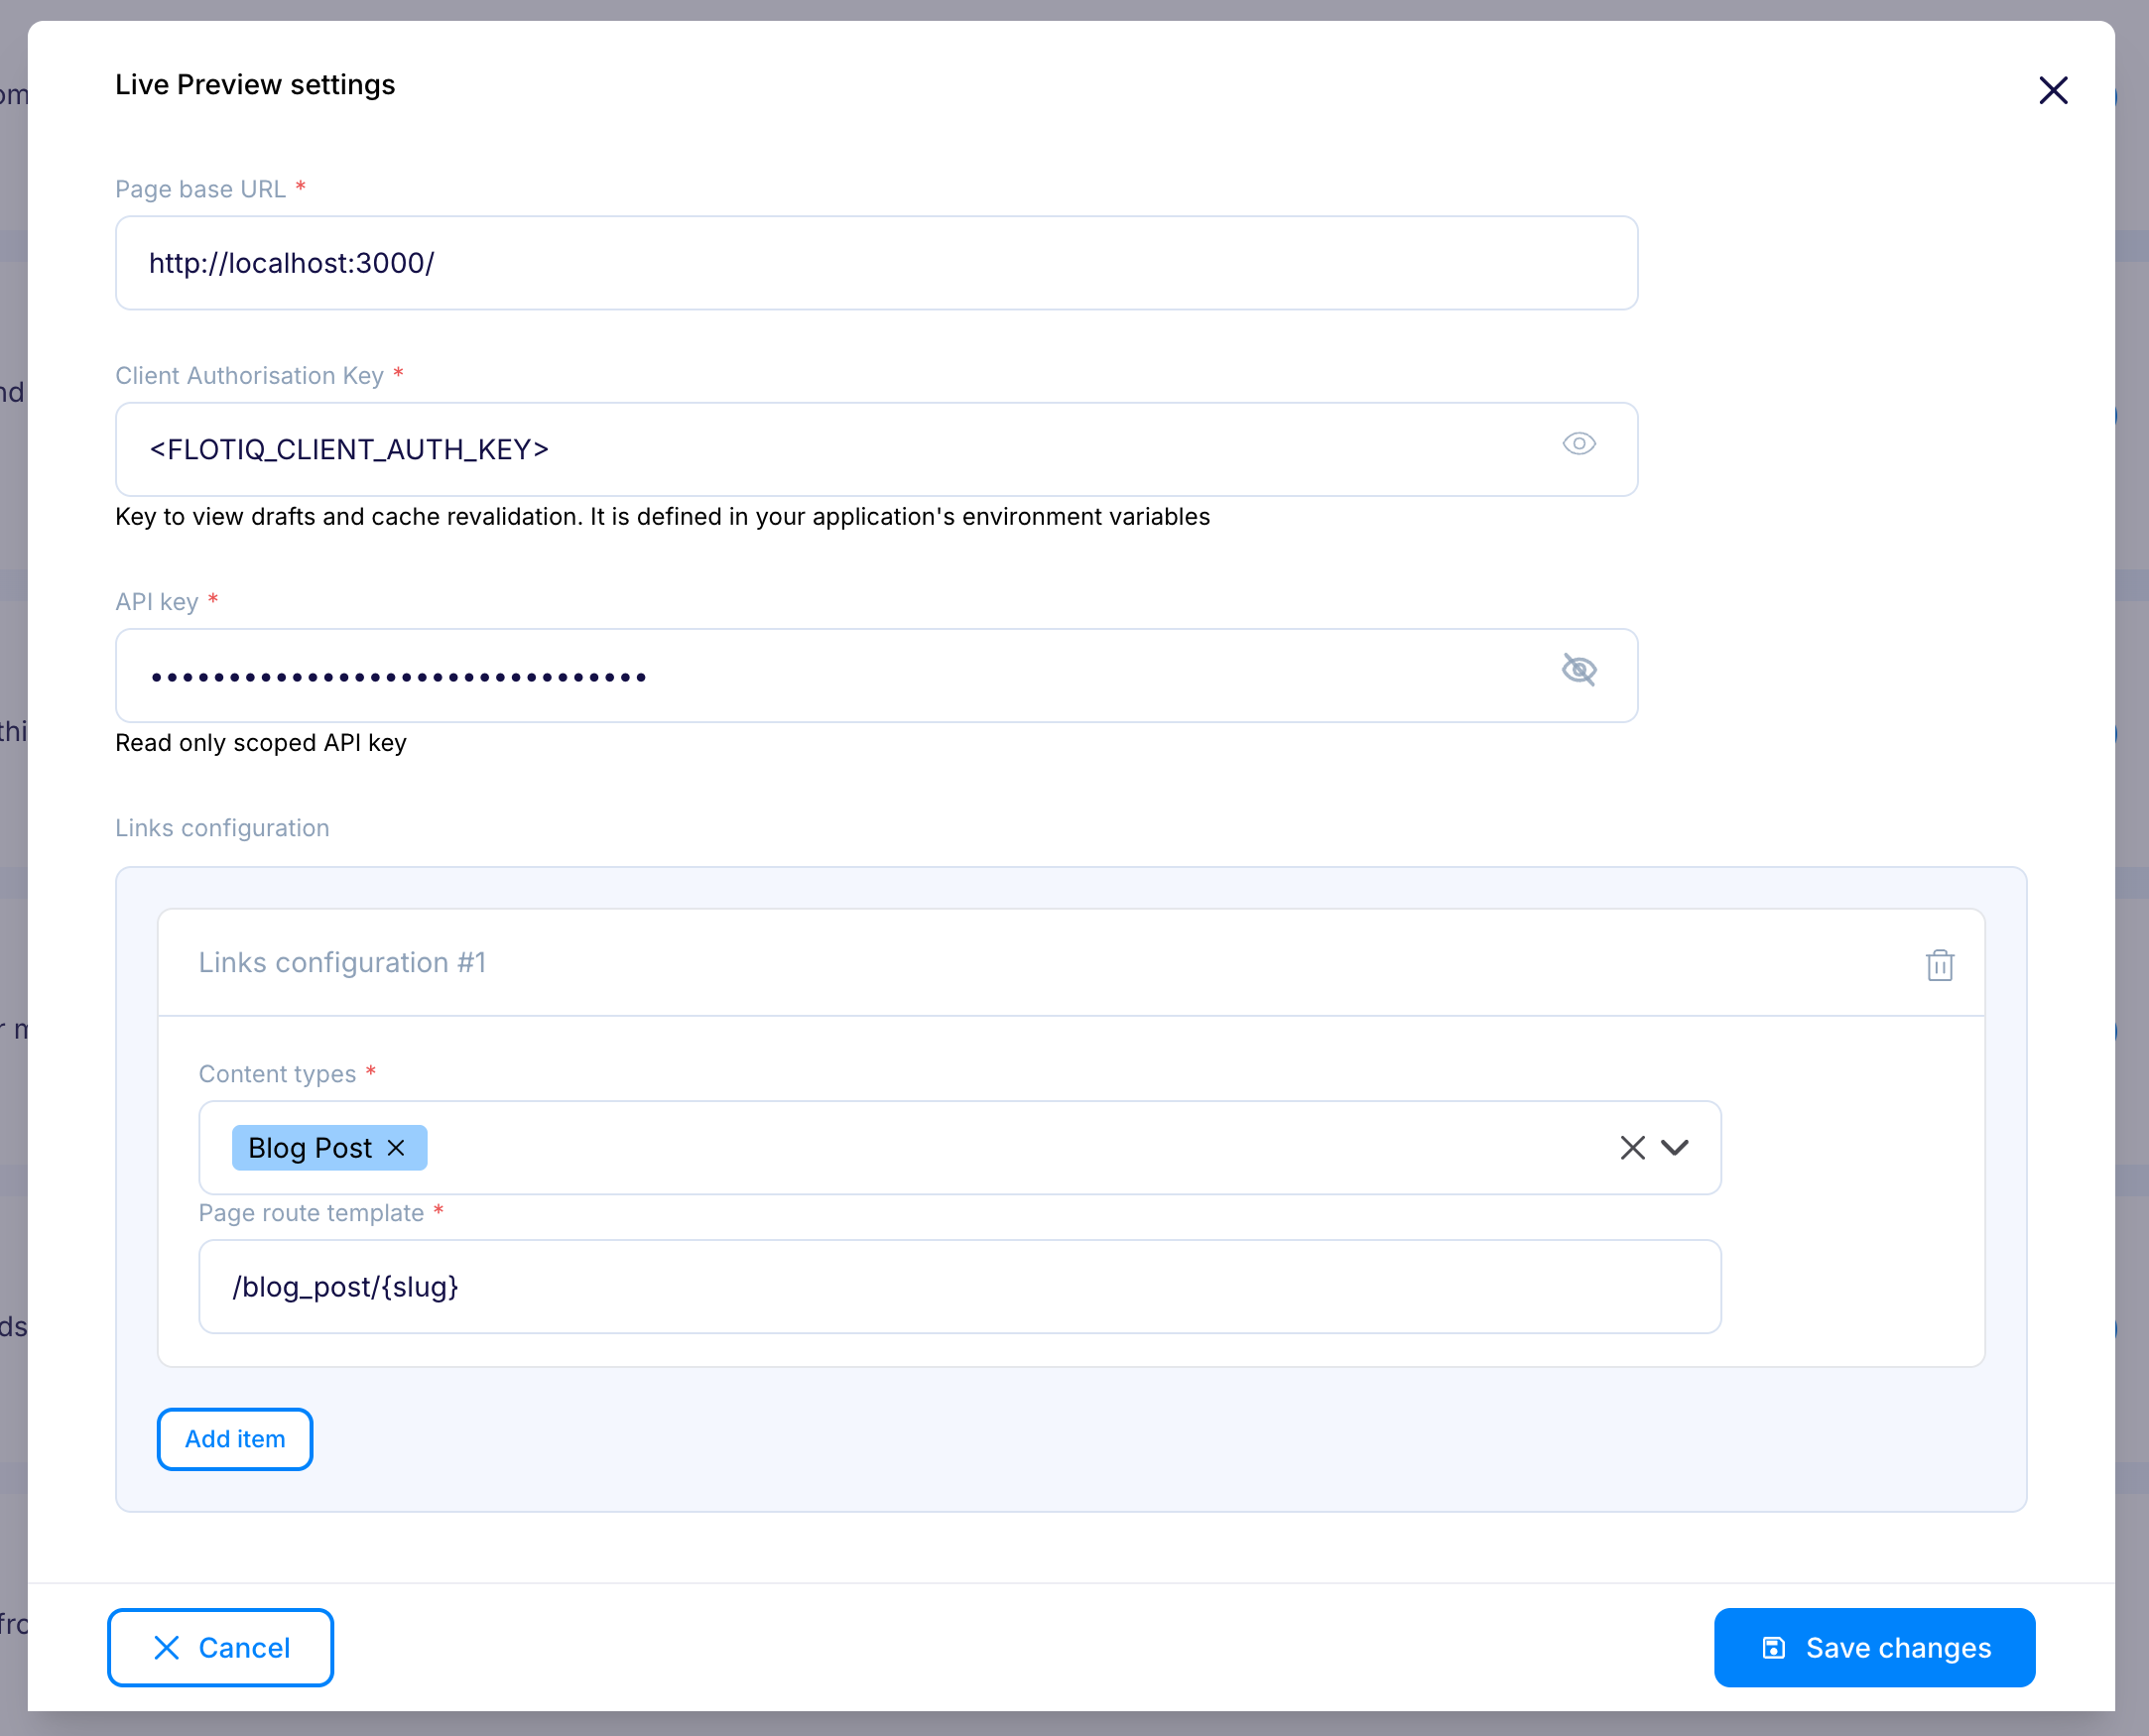
Once you add the Live Preview plugin to your space, click the Manage button. It will open the plugin settings. Fill up the form and click Save Changes.
As Client Authorisation Key, you can provide anything you want. This is the key that will be passed from the plugin to your application to validate the live preview enable request. Flotiq nextjs setup CLI configured the key for you. Find the FLOTIQ_CLIENT_AUTH_KEY variable and paste it into the plugin settings.
To enable live preview, you need to enhance the Flotiq SDK with middleware from the @flotiq/nextjs-live-preview package.
Install the package:
npm install @flotiq/nextjs-live-preview
Configure the Flotiq API SDK with Live Preview middleware (src/flotiq-api-client.ts file):
import { Flotiq } from "@flotiq/flotiq-api-sdk";
import { createNextMiddleware } from "@flotiq/nextjs-addon";
import { createNextLivePreviewMiddleware } from "@flotiq/nextjs-live-preview";

export const flotiqApiClient = new Flotiq({
    middleware: [createNextLivePreviewMiddleware(), createNextMiddleware()],
});Create the API route that handles live preview mode toggling in src/app/api/flotiq/live-preview/route.ts:
import { NextRequest } from "next/server";
import { redirect } from "next/navigation";
import { livePreview } from "@flotiq/nextjs-live-preview/server";

export async function GET(req: NextRequest) {
    const redirectPath = req.nextUrl.searchParams.get("redirect") || "/";

    // Request validation so only the right people can see the live preview
    const clientAuthKey = req.nextUrl.searchParams.get("editor_key");
    if (clientAuthKey !== process.env.FLOTIQ_CLIENT_AUTH_KEY) {
        return new Response("Unauthorized", { status: 401 });
    }

    const livePreviewState = await livePreview();
    const newLivePreview = req.nextUrl.searchParams.has("live-preview")
        ? req.nextUrl.searchParams.get("live-preview") === "true"
        : !livePreviewState.isEnabled;

    if (newLivePreview) {
        livePreviewState.enable(req);
    } else {
        livePreviewState.disable();
    }

    redirect(redirectPath);
}Add live preview UI components to your app for a complete editor experience.
import { livePreview } from "@flotiq/nextjs-live-preview/server";import { LivePreviewStatus } from "@flotiq/nextjs-live-preview/client";

// Fonts, metadata

export default async function RootLayout({
    children,
}: {
    children: React.ReactNode;
}) {
    const { isEnabled } = await livePreview();
    return (
        <html>
            <body>
                {isEnabled && (
                    <LivePreviewStatus editorKey={process.env.FLOTIQ_CLIENT_AUTH_KEY} />
                )}
                <main>{children}<main />
            </body>
    </html>
    );
}Wrap the field for which you want to show editor indicators in the LivePreviewBox component. Go to src/app/blog_post/[slug]/page.tsx and wrap the blogpost fields in the live preview box component. Example of wrapping the title field:
import { LivePreviewBox } from "@flotiq/nextjs-live-preview/server";

export default async function PostPage({
    params,
}: {
    readonly params: Promise<{ readonly slug: string }>;
}) {
    // Blogpost request code
    return (
        <div>
            {/* Some code */}
            <LivePreviewBox
                objectId={blogpost.id}
                ctdName="blogpost"
                fieldName="title"
            >
                <h1>{blogpost.title}</h1>
            </LivePreviewBox>
            {/* Some code */}
        </div>
    );
}Now that your application is set up, it’s time to see the Live Preview in action!
First, make sure your Next.js app is running locally:
npm run build
npm run start
This will compile and serve your application so it’s ready to receive live updates.
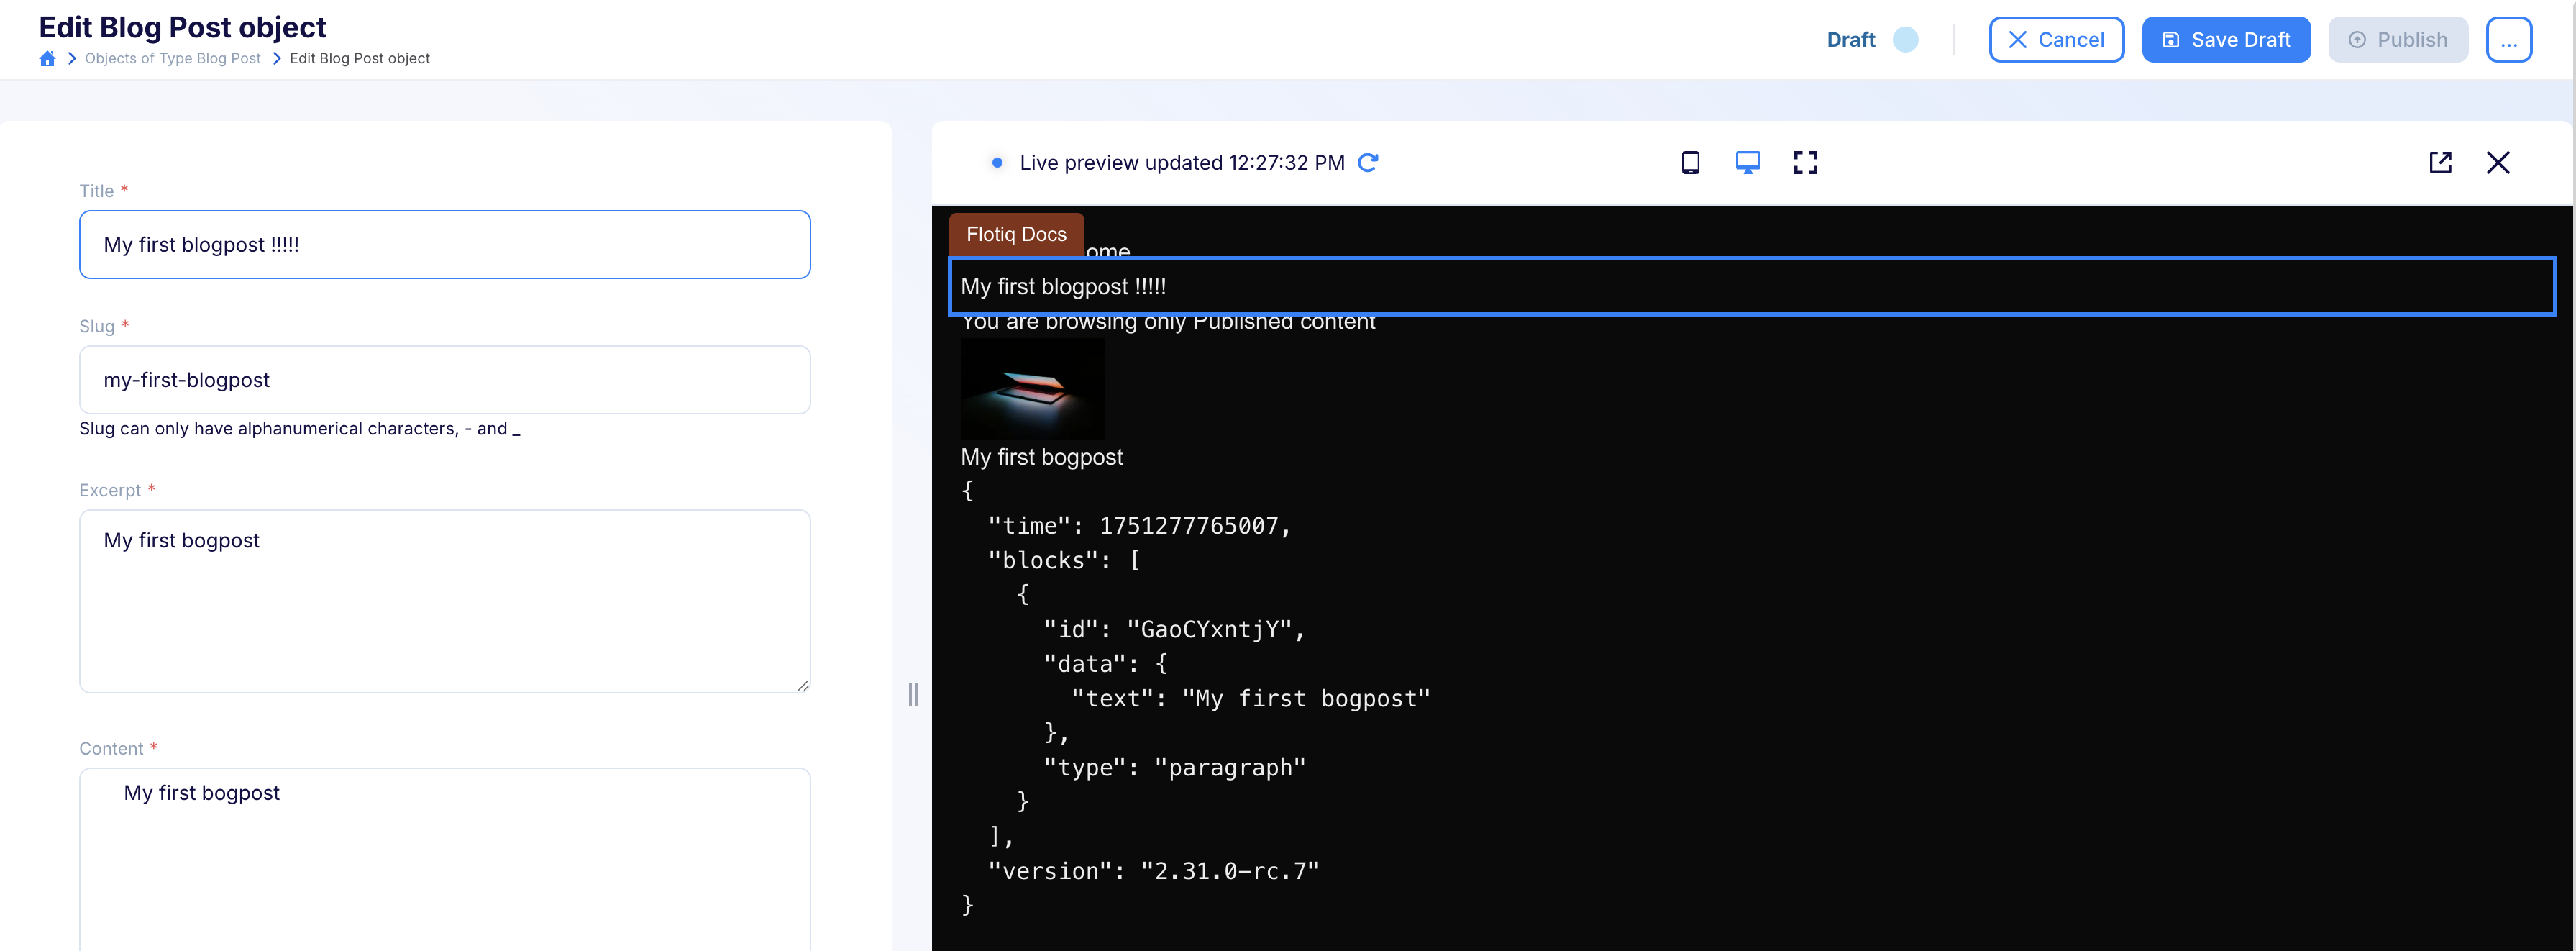
In the right-hand sidebar of the editor, you’ll see a Live Preview button. Click it to activate the preview mode. Now, as you make changes to your blog post - like editing the title or content - you’ll see those updates reflected instantly in your running Next.js app. No need to publish or refresh manually!
And just like that, you’ve got a live preview running!
There is an example of using live preview in our demo.
You can tweak the look and behavior of the Live Preview components. Check out the Live Preview package README for customization options and advanced usage.
If something’s not working, don’t panic, I’ve been there. Here are a few things that helped me debug.
Integrating Flotiq’s Live Preview with Next.js transforms your content editing workflow, providing instant feedback and reducing friction between editors and developers. With a few simple steps, you can scaffold a new blog, connect it to Flotiq, and empower your team to preview changes in real time, leading to faster iterations and higher quality content.
I’m so excited to see what you’ll create with it. If you want to share feedback or ideas, just reach out - you’ll find me on our Discord channel here.