


Let’s say that you are the owner of a WordPress site and you have heard about Jamstack, the “modern way” to build websites. You want to check if this approach is good for a WordPress replacement. Using Gatsby WordPress starter and migration tools you can test it in just a few minutes.
When you have a WordPress site with data, you could be worried about the migration, creating a new Gatsby template, and deploying your new site. These things can stop you from deciding to check the Jamstack way of developing your project. Let’s see how to move your WordPress to a gatsby template without pain, in 2 simple steps.
Next, optionally, we set up the project live via Netlify, and configure Netlify Plugin in Flotiq, to simplify the build process to one-click action.
In the next steps, we assume that you have an account in Flotiq (click here to register for free).
Step 1: Migrate data to HeadlessCMS
The first step is to migrate your data to Headless CMS. We recommend using our migration tool. Go to the WordPress to Flotiq migration service, fill in the required data and start the import. This process will import your media, posts, pages, authors, tags and categories.
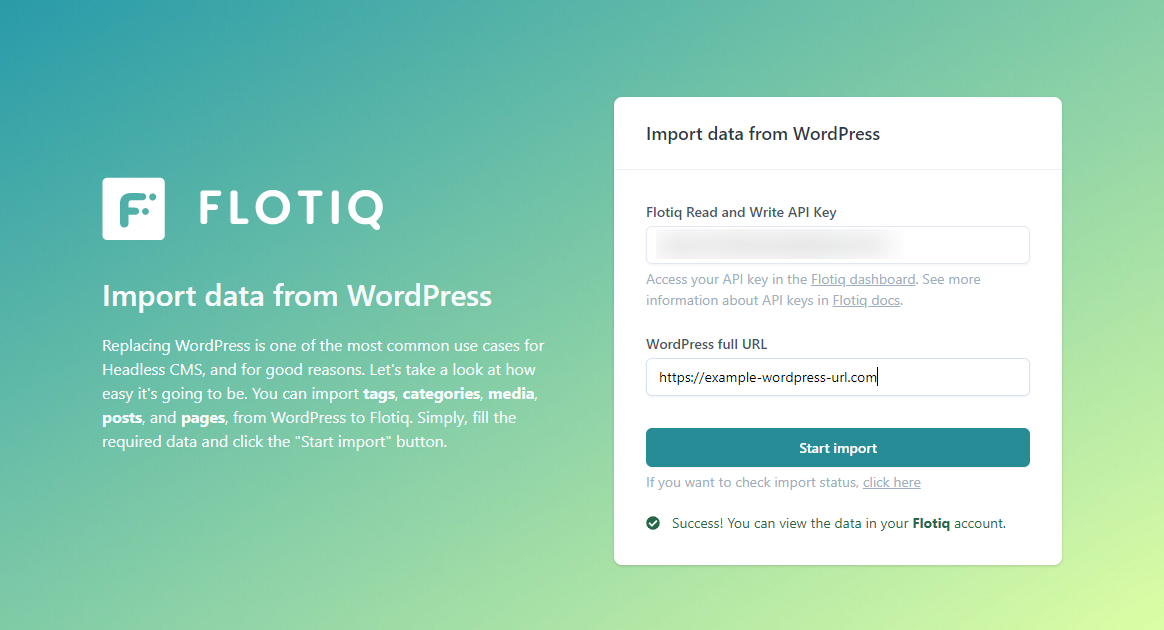
Check your Flotiq Account after the migration is done.

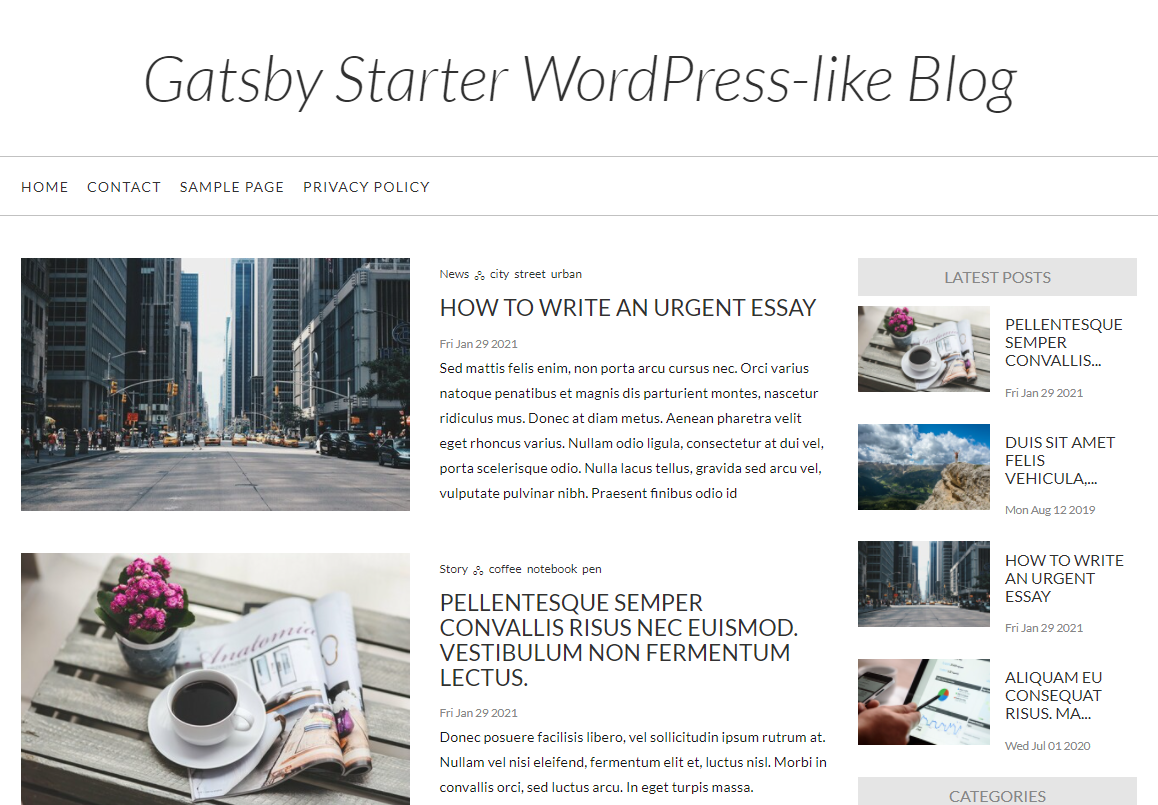
Now your data is stored in the Headless CMS and you can manage it in Flotiq. But we want to achieve more - let’s set up a brand new site based on this data.
Step 2: Setup starter locally
Now we can use our Gatsby Starter - WordPress Blog. For detailed instructions check the project’s GitHub repository.
Run the project from a template using Flotiq CLI. Type the following commands:
npm install -g
flotiq-cli flotiq start [yourProjectName] https://github.com/flotiq/gatsby-starter-wordpress-blog [flotiqApiKey]
The flotiqApKey is your “Read and write API key” to your Flotiq account, and yourProjectName is your custom project name.
This script will download the starter, add the required configuration to the “.env” file, install dependencies and run gatsby.
Wait a moment, and that’s it! Your site is now running at http://localhost:8000. To exit the process type Ctrl+C.
Next - start developing. Use your favourite IDE to edit project files. There are commands you would use to develop a project
- gatsby develop - build again your site and expose it on the localhost:8000
- gatsby clean - clear cached data (like posts, media)
- gatsby build - build the site for production environment
- gatsby serve - view the production site locally
To learn more about Gatsby development process check this tutorial.
Now you can develop and test your site, learn Gatsby and check the Flotiq features. You can also take the next extra steps to publish your site on the Internet.
Step 3: Deploy your site to Netlify (optional)
You can go live with your site in multiple ways. One way is to simply copy your files from the public directory (created after running Gatsby build) to your server. This fully static page will serve your content without a backend.
Another way is to use a deploy solution like Netlify. The benefit of this solution is that you can configure automatically build after pushing to the repository or even rebuilding directly from the Flotiq dashboard (using Netlify Plugin).
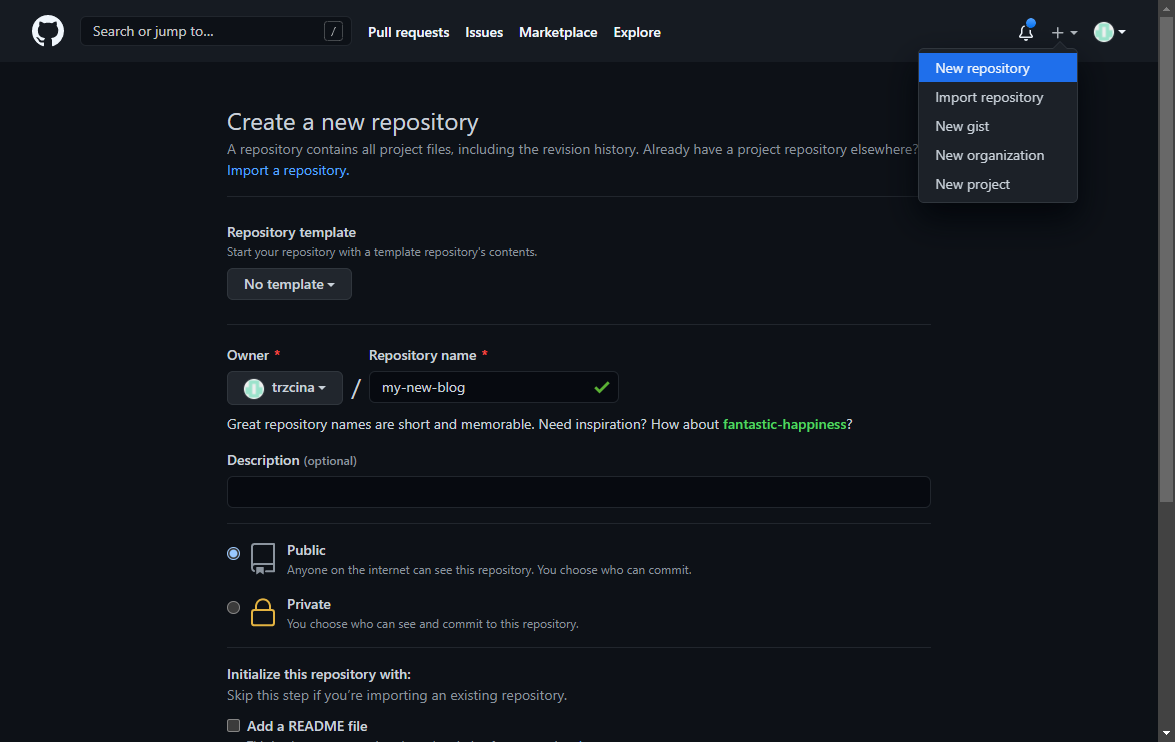
1. Create your project repository in GitHub
Netlify will use your repository to fetch files, run build commands and publish your website. Create an empty repository for your project:
2. Push your project to the newly created repository.
GitHub will show you tips to quickly set up your repository - follow the part “…or push an existing repository from the command line”. In projects directory type:
git remote add origin git@github.com:[accountName]/[projectName].git
git branch -M main
git push -u origin main
Now your files are stored in GitHub with all benefits of using version control.
3. Setup Netlify site
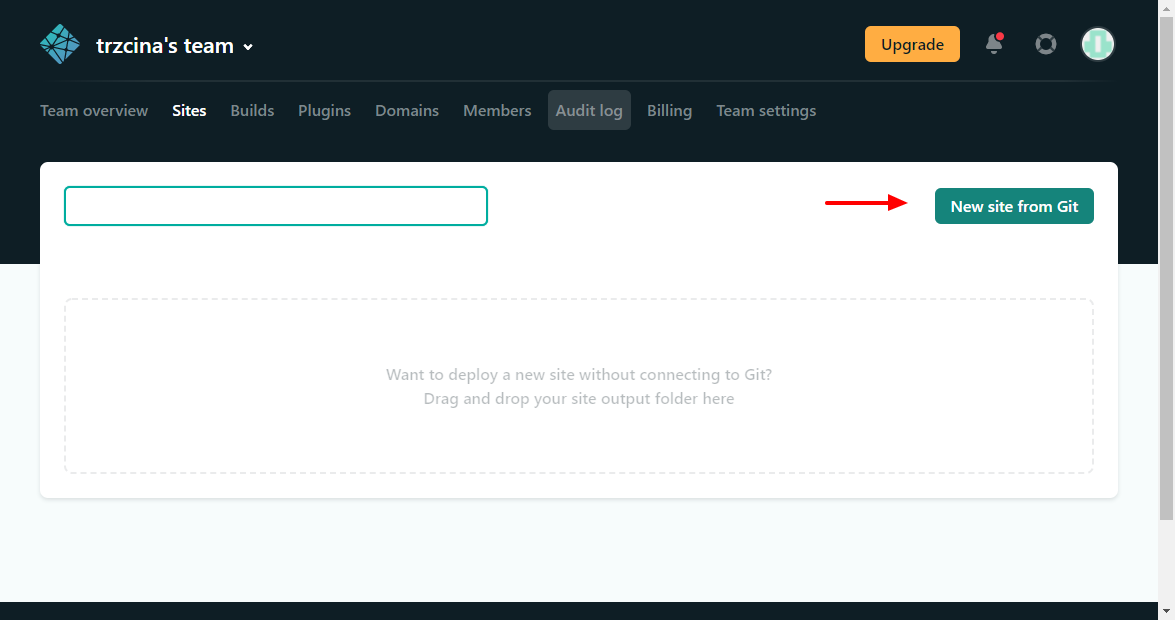
Now let’s publish our site. We will use Netlify for this step. To create a site go to the Netlify dashboard. We will create a site from the Git repository.
Click the "New Site from Git".
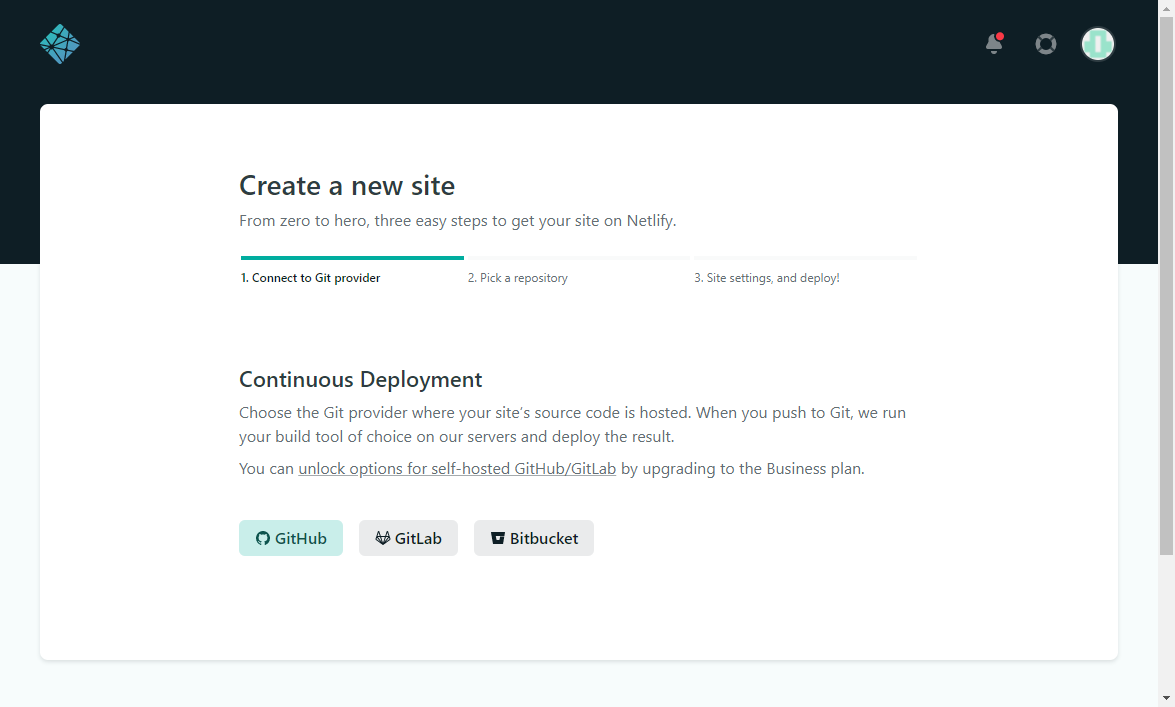
Choose "GitHub" as the project source.
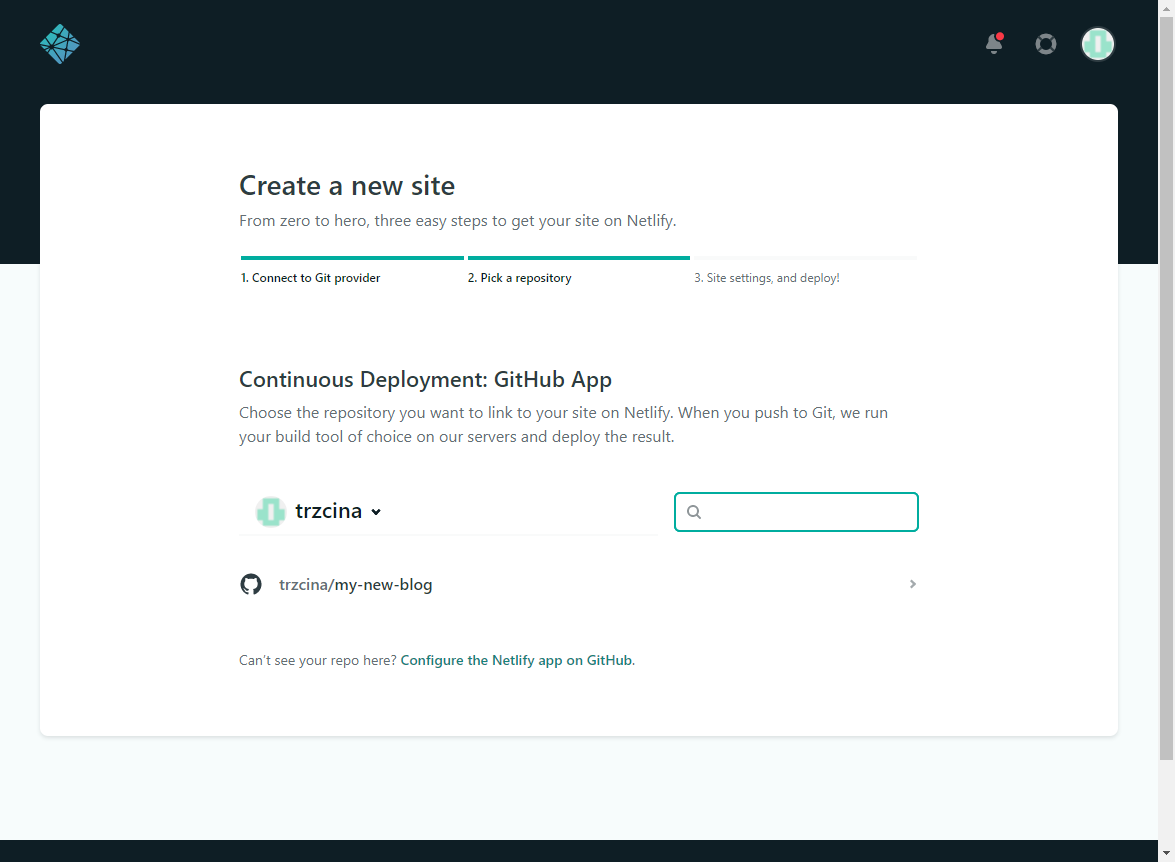
Find your new repository.
Add variable GATSBY_FLOTIQ_API_KEY with your flotiqApiKey (like we do in local setup, in the “.env” file)
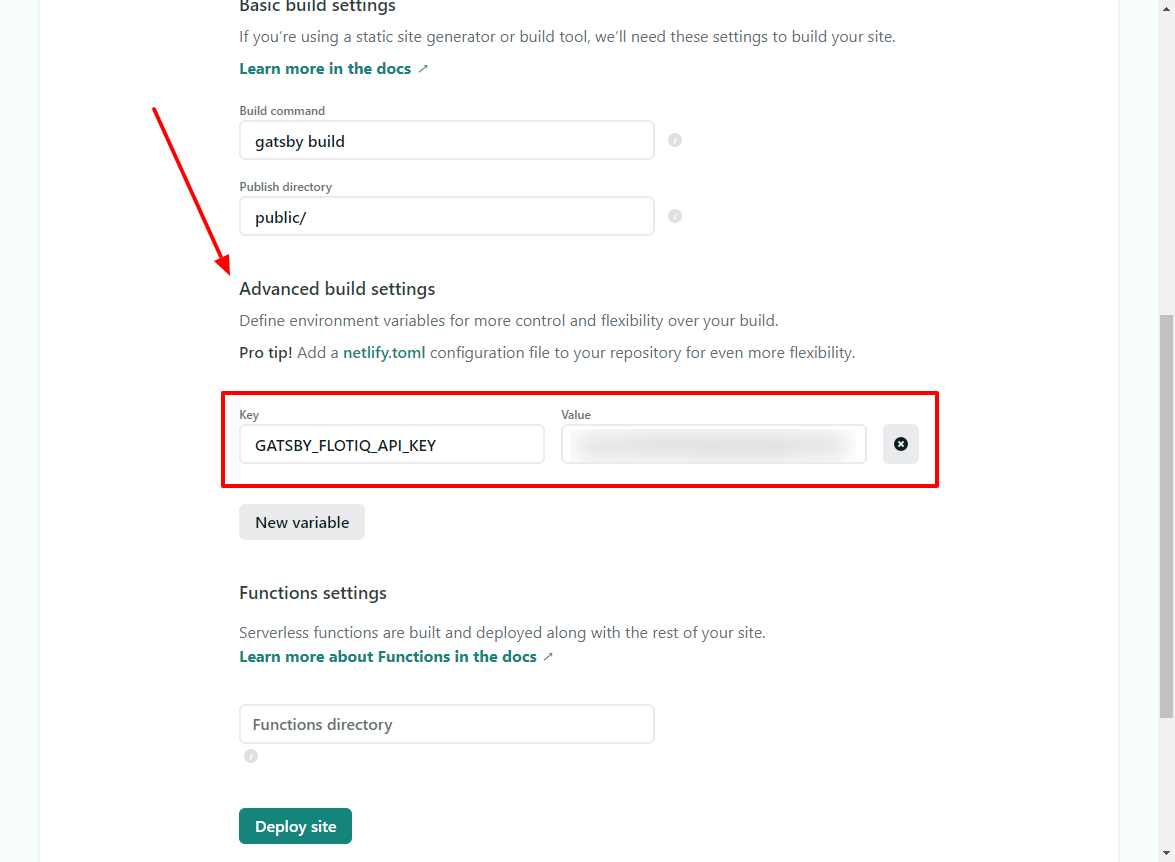
Next, click the “Deploy site” button, and wait 2-3 minutes. When the status change, click on your new automatically generated address.
It’s your site, live on the Web. Congratulations!
You can change your site URL, or even bind your domain - for further information check the Netlify Docs.
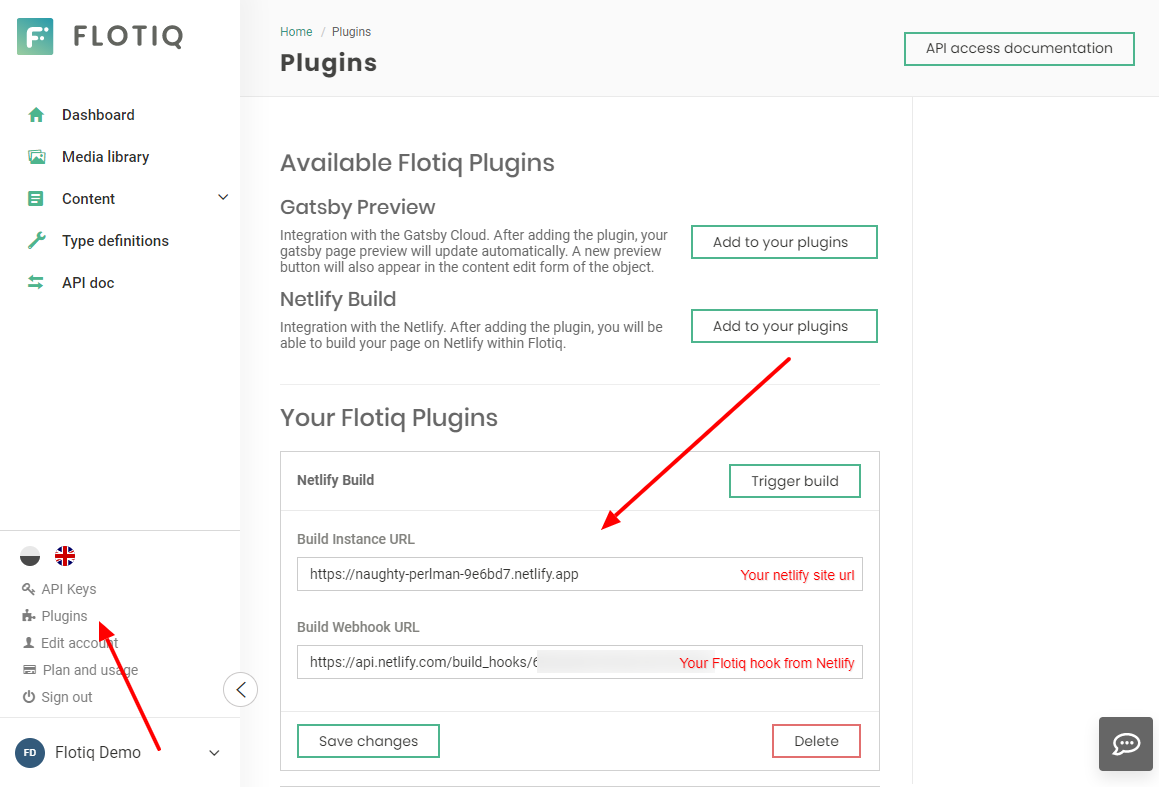
Step 4: Use the Netlify plugin in Flotiq to deploy your site automatically (optional)
For now, every time when you push to the main branch, your site will rebuild automatically. That’s a convenient solution. But what if we want to rebuild the site every time when creating data in Flotiq? Follow these steps to enable the “Build Site” button in Flotiq:
Go back to the Netlify dashboard. Add a build hook in the Build & Deploy settings. The name of this webhook is up to you:
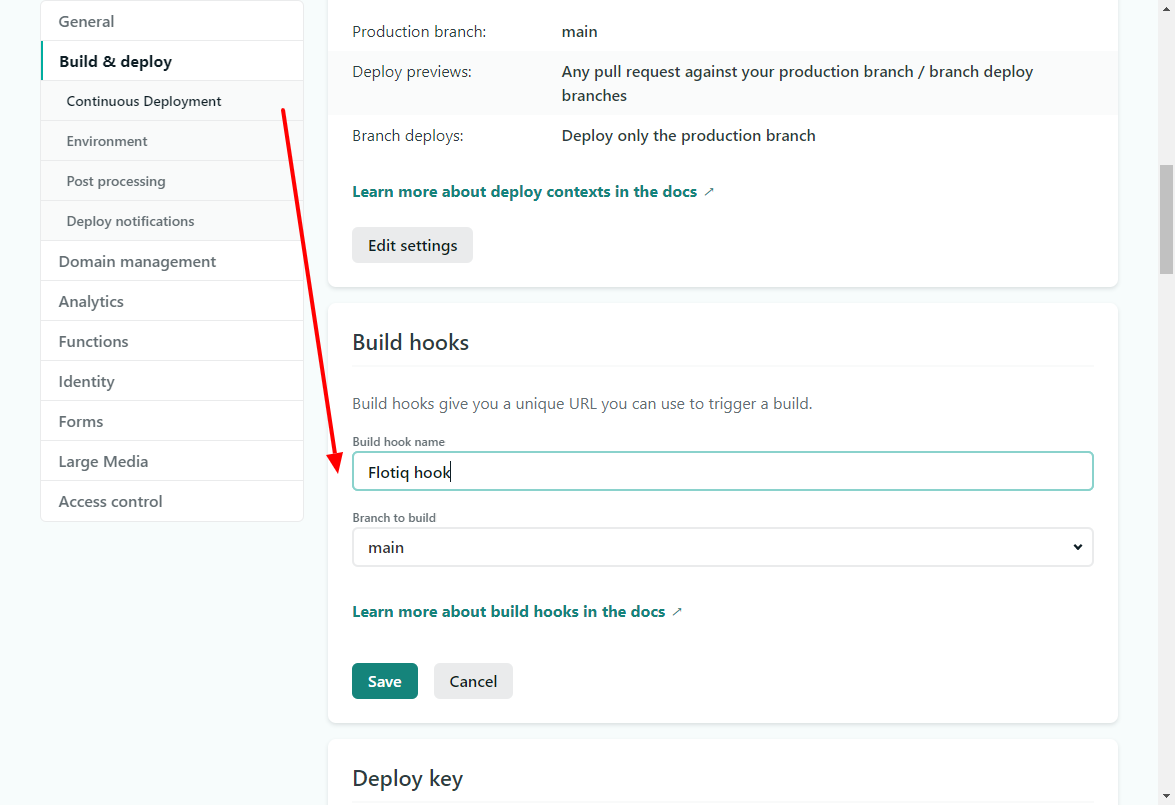
Once the hook is created, you get your custom website hook.
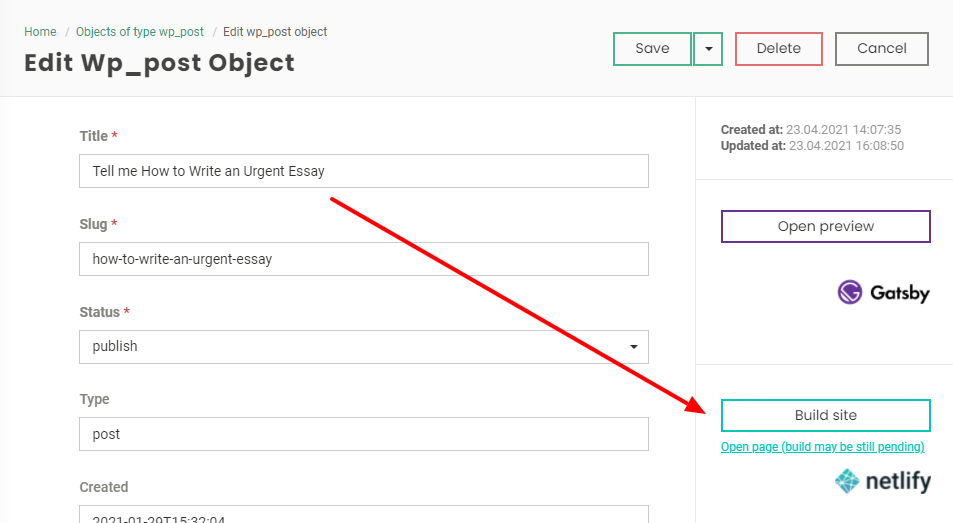
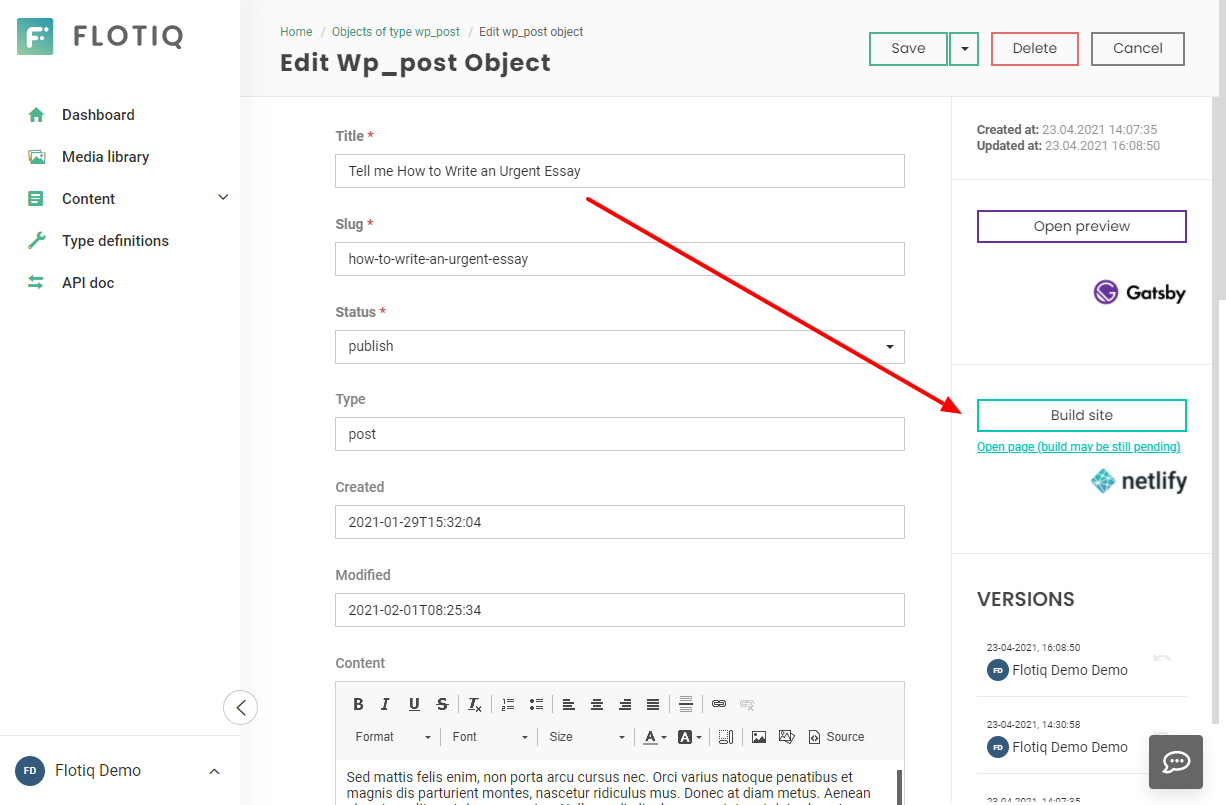
After these steps, you can not only manage your data in Flotiq Headless CMS. You can also trigger a rebuild of your site by clicking “Build site”.
Now your site is live, and you can easily manage the site content. You can take the benefits of Headless CMS and the Gatsby ecosystem.
Use the data stored and managed in Flotiq in multiple ways, building other websites or mobile applications. Extend your project scope by adding new functionalities like e-commerce or a map with a store locator.