Deploy a Next.js to Heroku
Caution
Heroku removed its free plan in November 2022. This tutorial is now a legacy guide and requires a paid Heroku app.
For free hosting, use alternatives such as Netlify or Vercel.
Flotiq Team prepared a few starters. They use frameworks like Gatsby and Next.js. Such starters can be hosted on many popular clouds. This post guides you through deployment to Heroku. An example will be a starter written in the Next.js framework.
Before start
To start, you need an account on Heroku and install Heroku CLI on your PC.
The Heroku CLI is a command line tool to work with the Heroku cloud. The installation process is described on the page:
https://devcenter.heroku.com/articles/heroku-cli#install-the-heroku-cli
After installation is required login to Heroku via CLI:
heroku login
When we log in, the CLI tool is ready to go.
Select and fork starter
Select one starter from Flotiq NetJs starter: https://github.com/flotiq
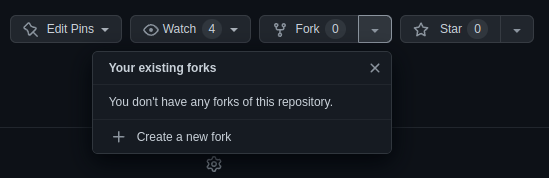
For example, next's steps show deployment of the Next.js blog 1 starter. Fork this repository to your GitHub account.
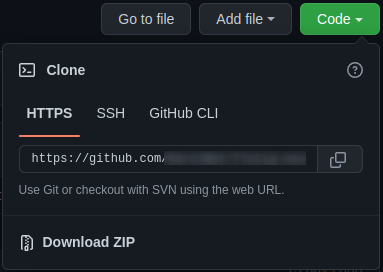
After a fork, you need to get the starter to your PC. On GitHub, click "Code" and "Download ZIP".
Update package.json
Add -$PORT to command start in package.json
  "scripts": {
    "dev": "next dev",
    "build": "next build",
    "start": "next start -p $PORT",
    "lint": "next lint"
  },
Create a Heroku app
In the project directory, run the command:
heroku create -a flotiq-blog-1
Note
flotiq-blog-1 - is application name,
when command return error about app name is already taken
the name should be changed.
To show list of application, run:
heroku apps
Set remote for your blog:
heroku git:remote -a flotiq-blog-1
Set environment variables
 heroku config:set FLOTIQ_API_URL=https://api.flotiq.com
 heroku config:set FLOTIQ_API_KEY=_FLOTIQ_API_KEY_
 heroku config:set NEXT_PUBLIC_GA_ID=_GOOGLE_ANALITICS_ID_
Note
_FLOTIQ_API_KEY_ - Flotiq api key from: https://editor.flotiq.com/api-keys
_GOOGLE_ANALYTICS_ID_ - Google Analytics id
In the case of the Gatsby framework, the environment variable names will be different: https://github.com/flotiq/flotiq-gatsby-blog-1#configuration
Push your code to Heroku
Now commit your code changes (package.json) and push it to Heroku:
git commit -a -m "Heroku deploy"
git push heroku main
Note
main is the name of the branch. For other repositories, this name maybe is different.
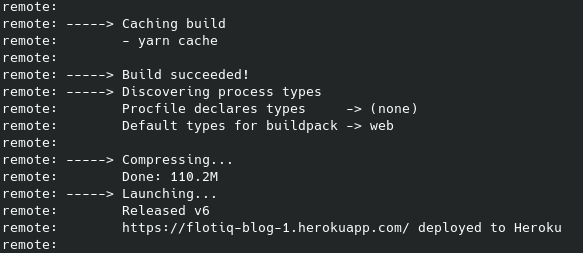
After a few minutes, Heroku return URL address for your page: