Content objects
Once you define a Content Type in the system, you can create Content Objects of that Content Type. This is done either directly through the API or via the convenient Content Entry tools provided within the Flotiq Dashboard.
Authoring content 1
The Content Entry component consists of two elements - the content browser and the content editor.
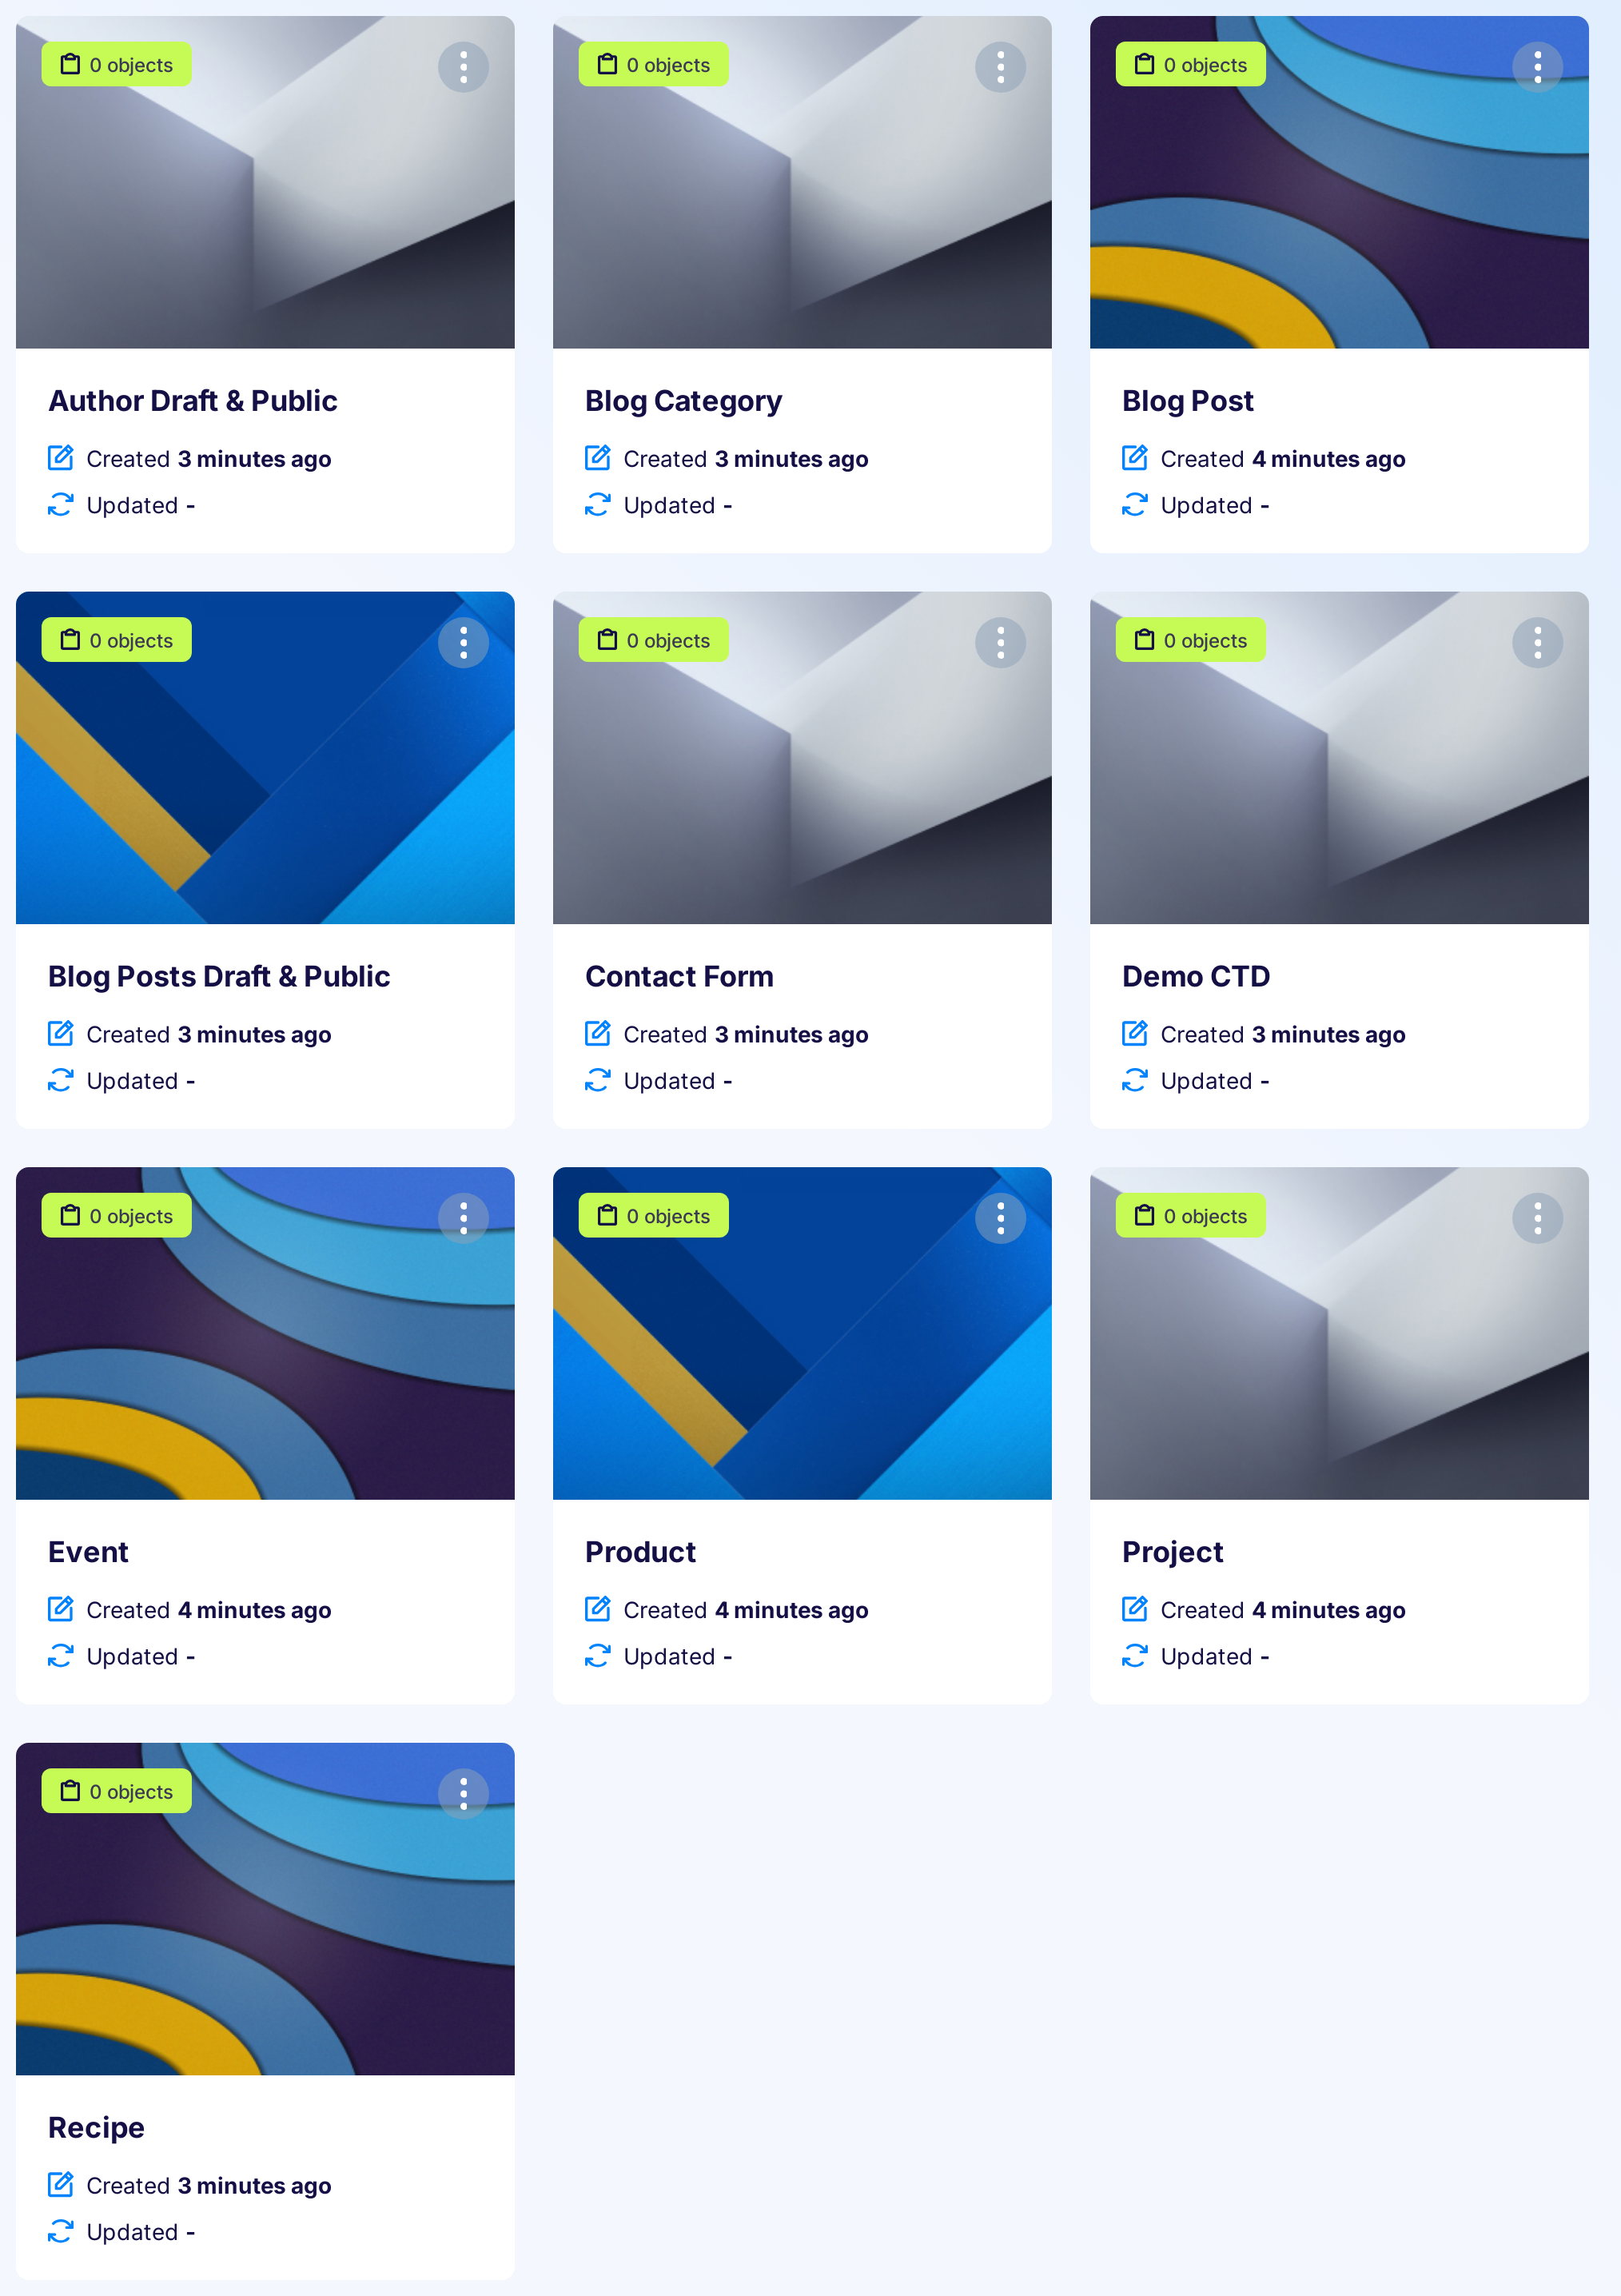
Click tile on the Type Definitions to go to the content browser page:
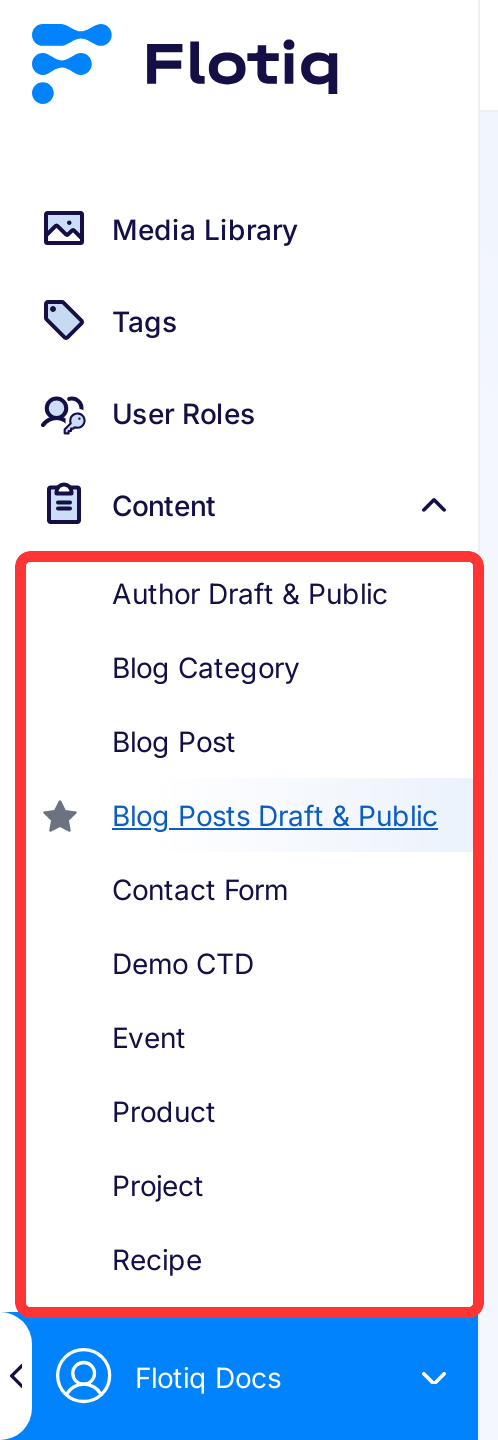
or entry in the left menu:
The content browser provides a convenient grid interface to browse and search through large amounts of data quickly. Users can customize the grid according to their preferences:
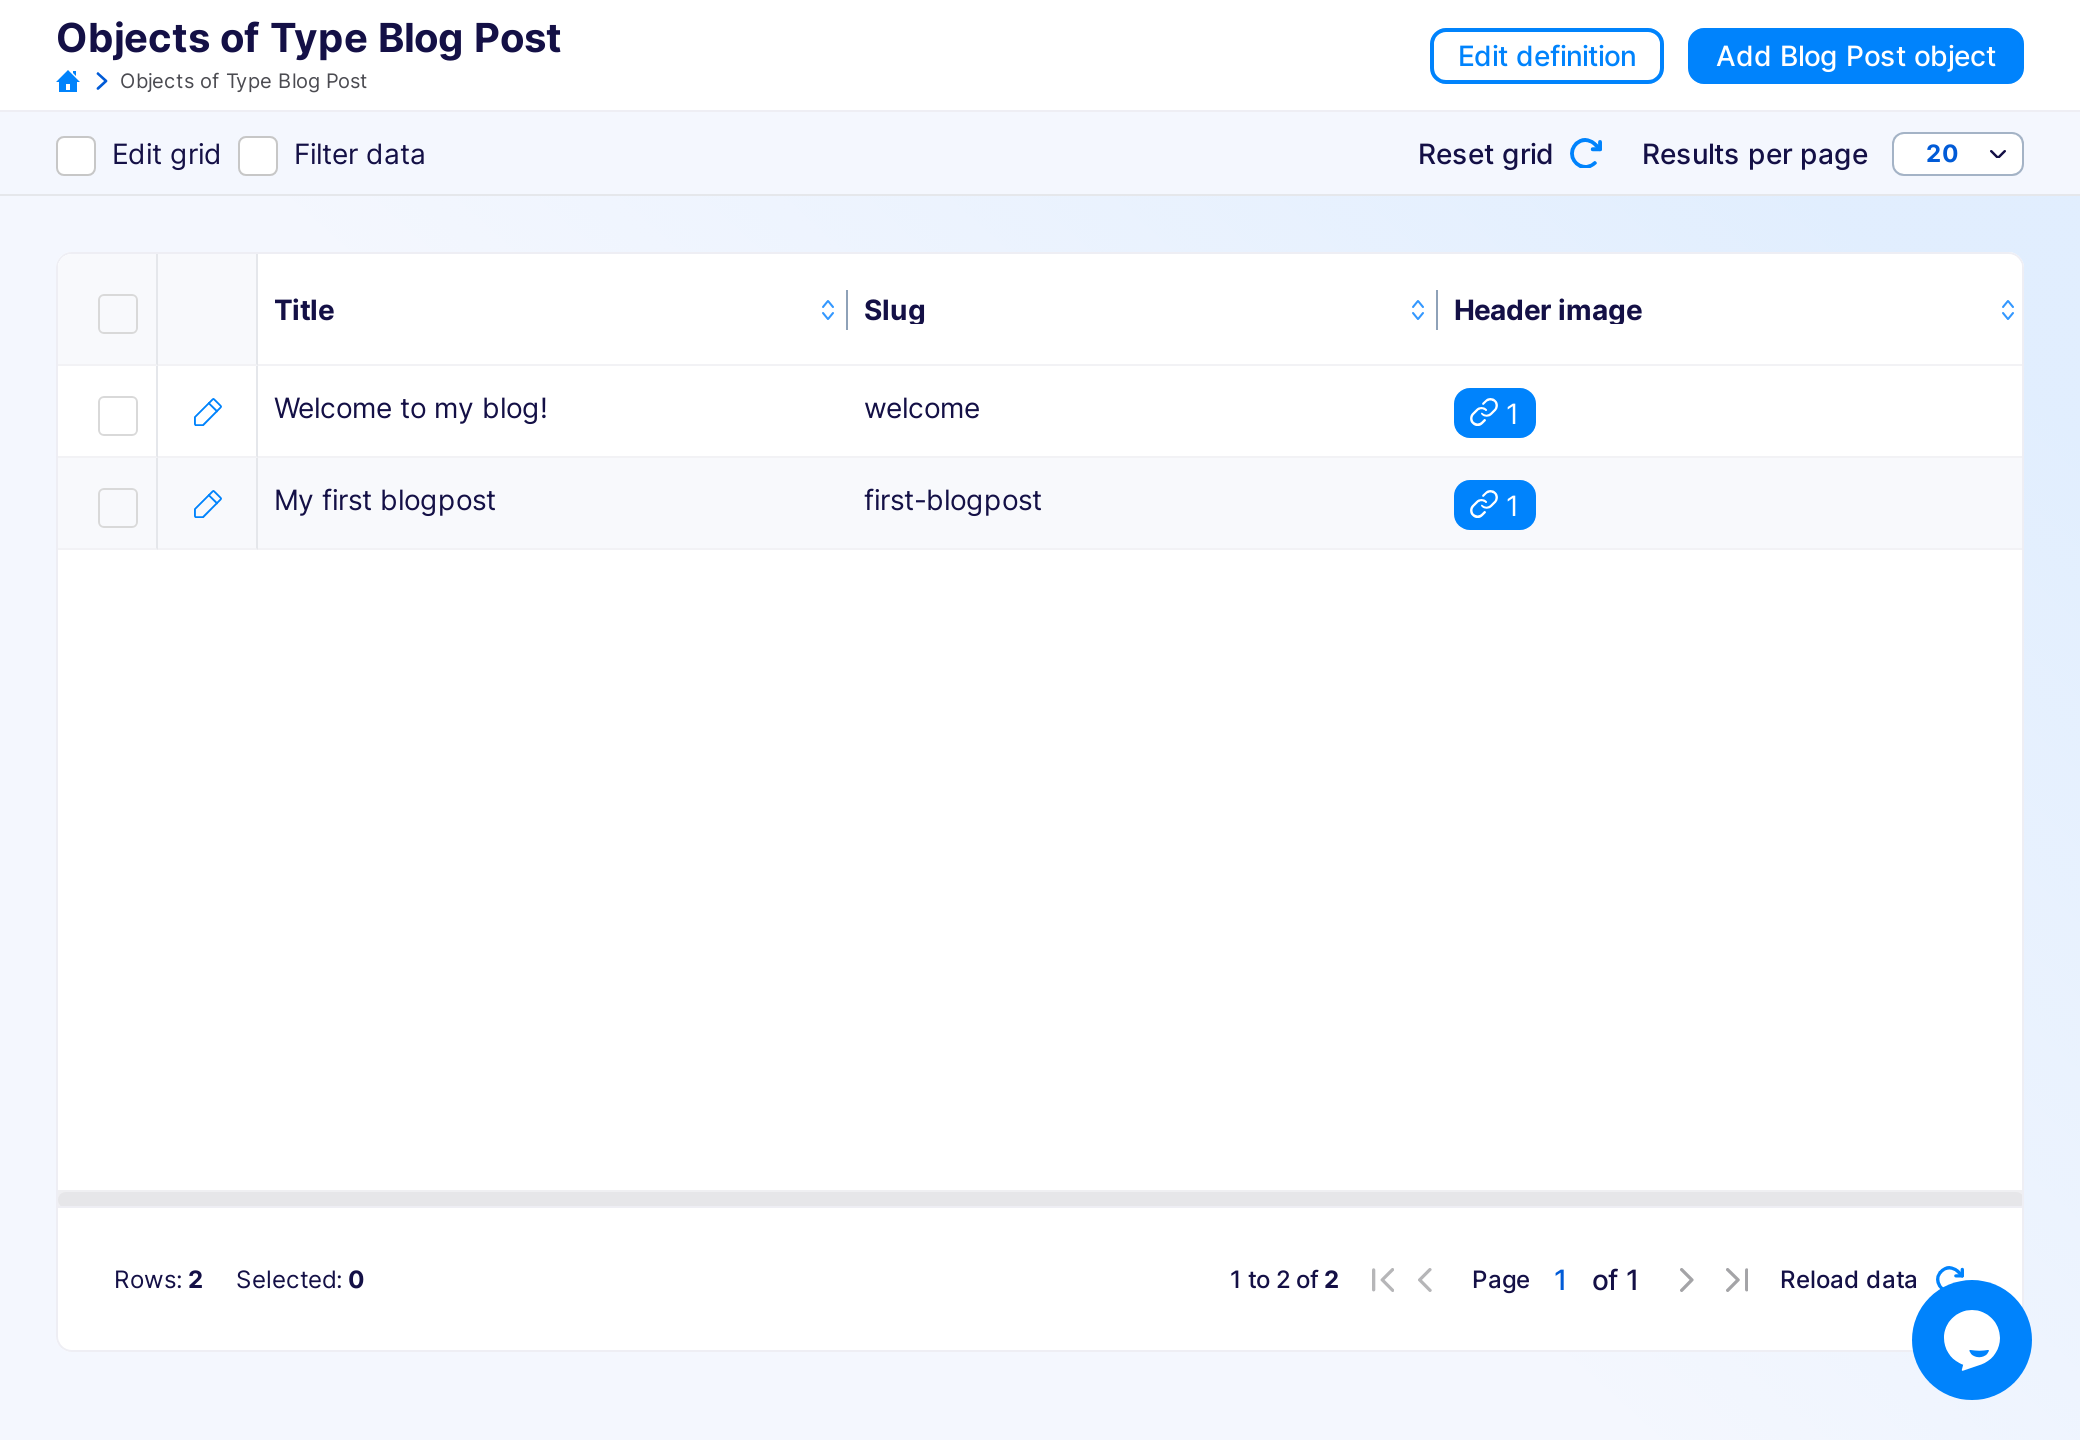
From the grid, the users can go to the form that allows them to edit particular Content Objects:
Deleting content
You can delete the object either by clicking the Delete button on the edit object page (in the top right corner):
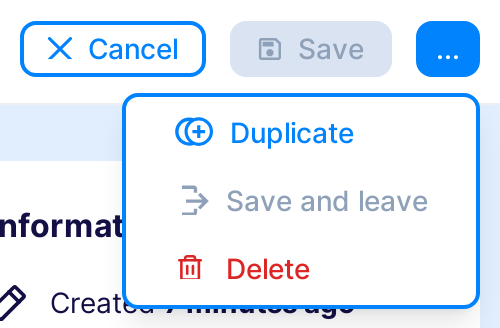
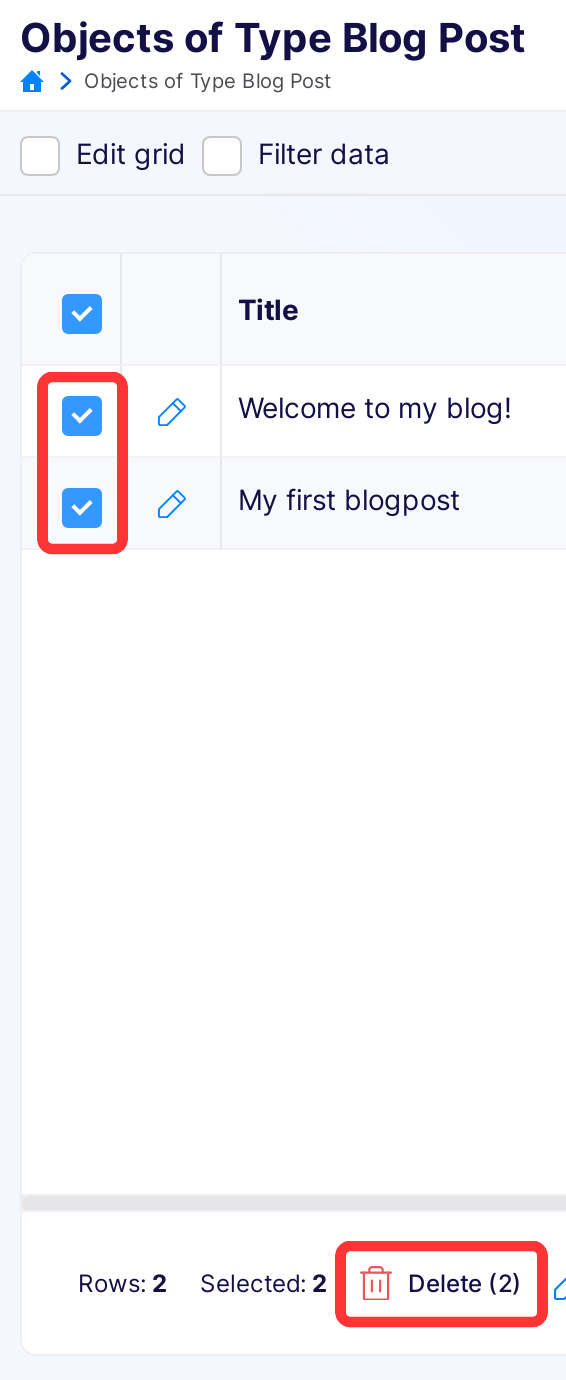
Or by selecting it on the content browser and clicking the Action then Delete button:
Warning
You can only remove objects that are not linked to any other object in the system.
Version History
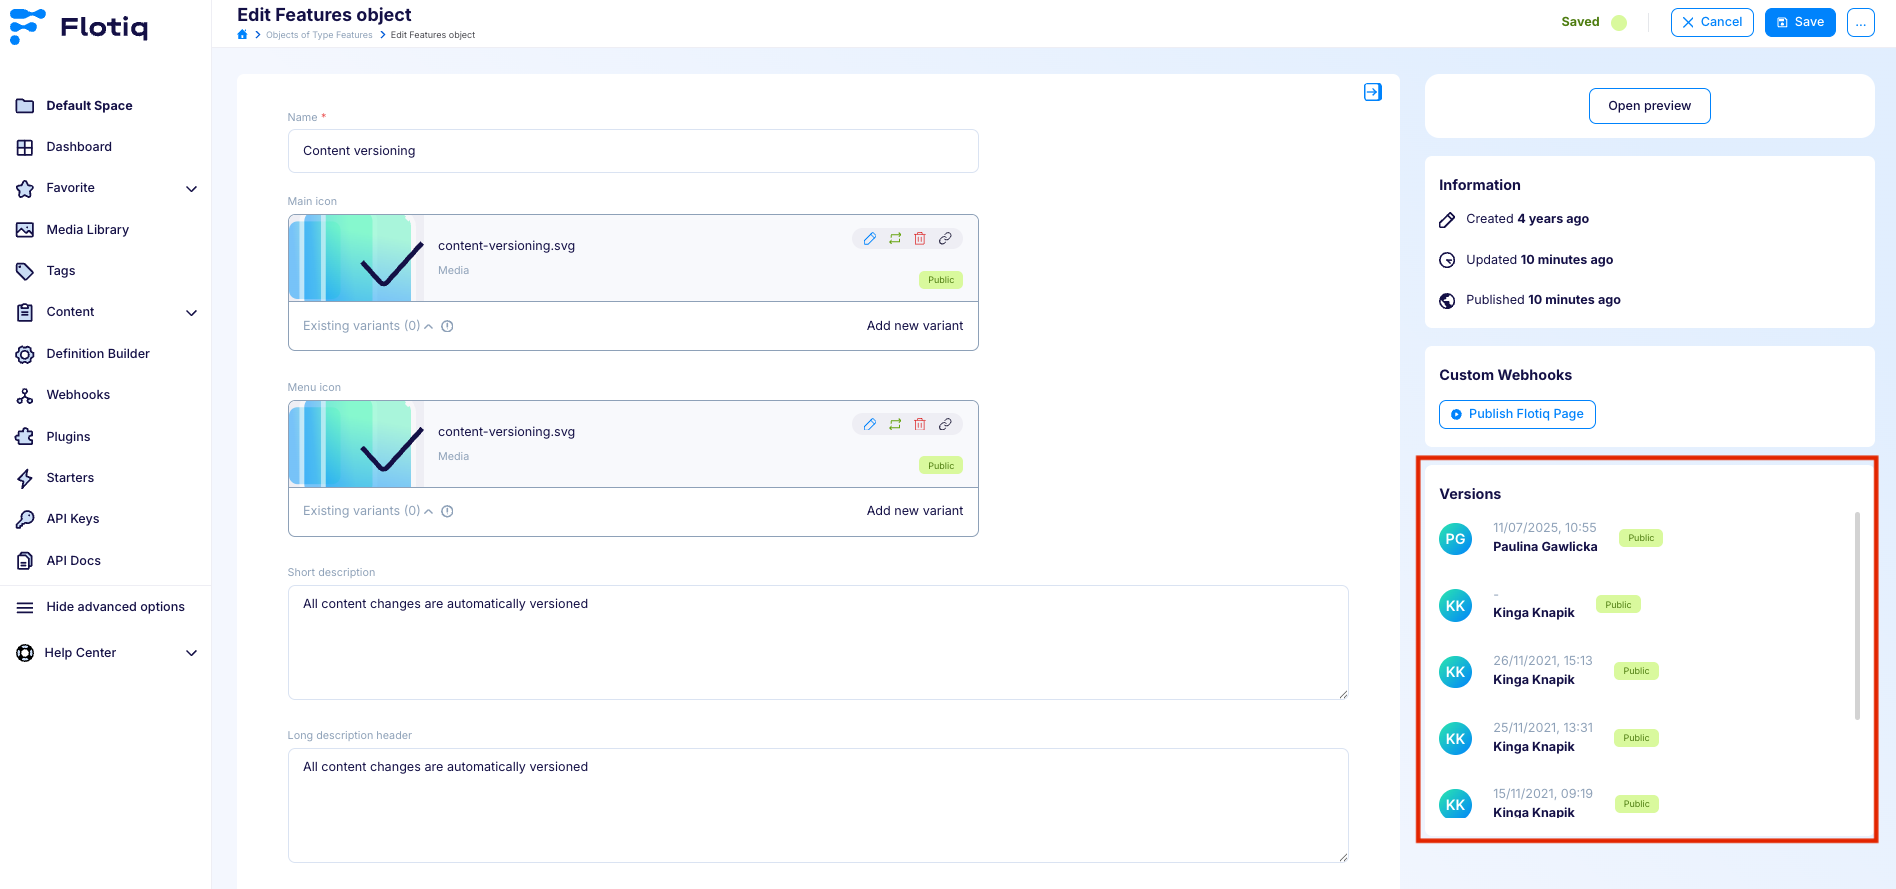
Flotiq provides built-in version control for content objects, allowing users to view, compare, and restore previously saved versions.
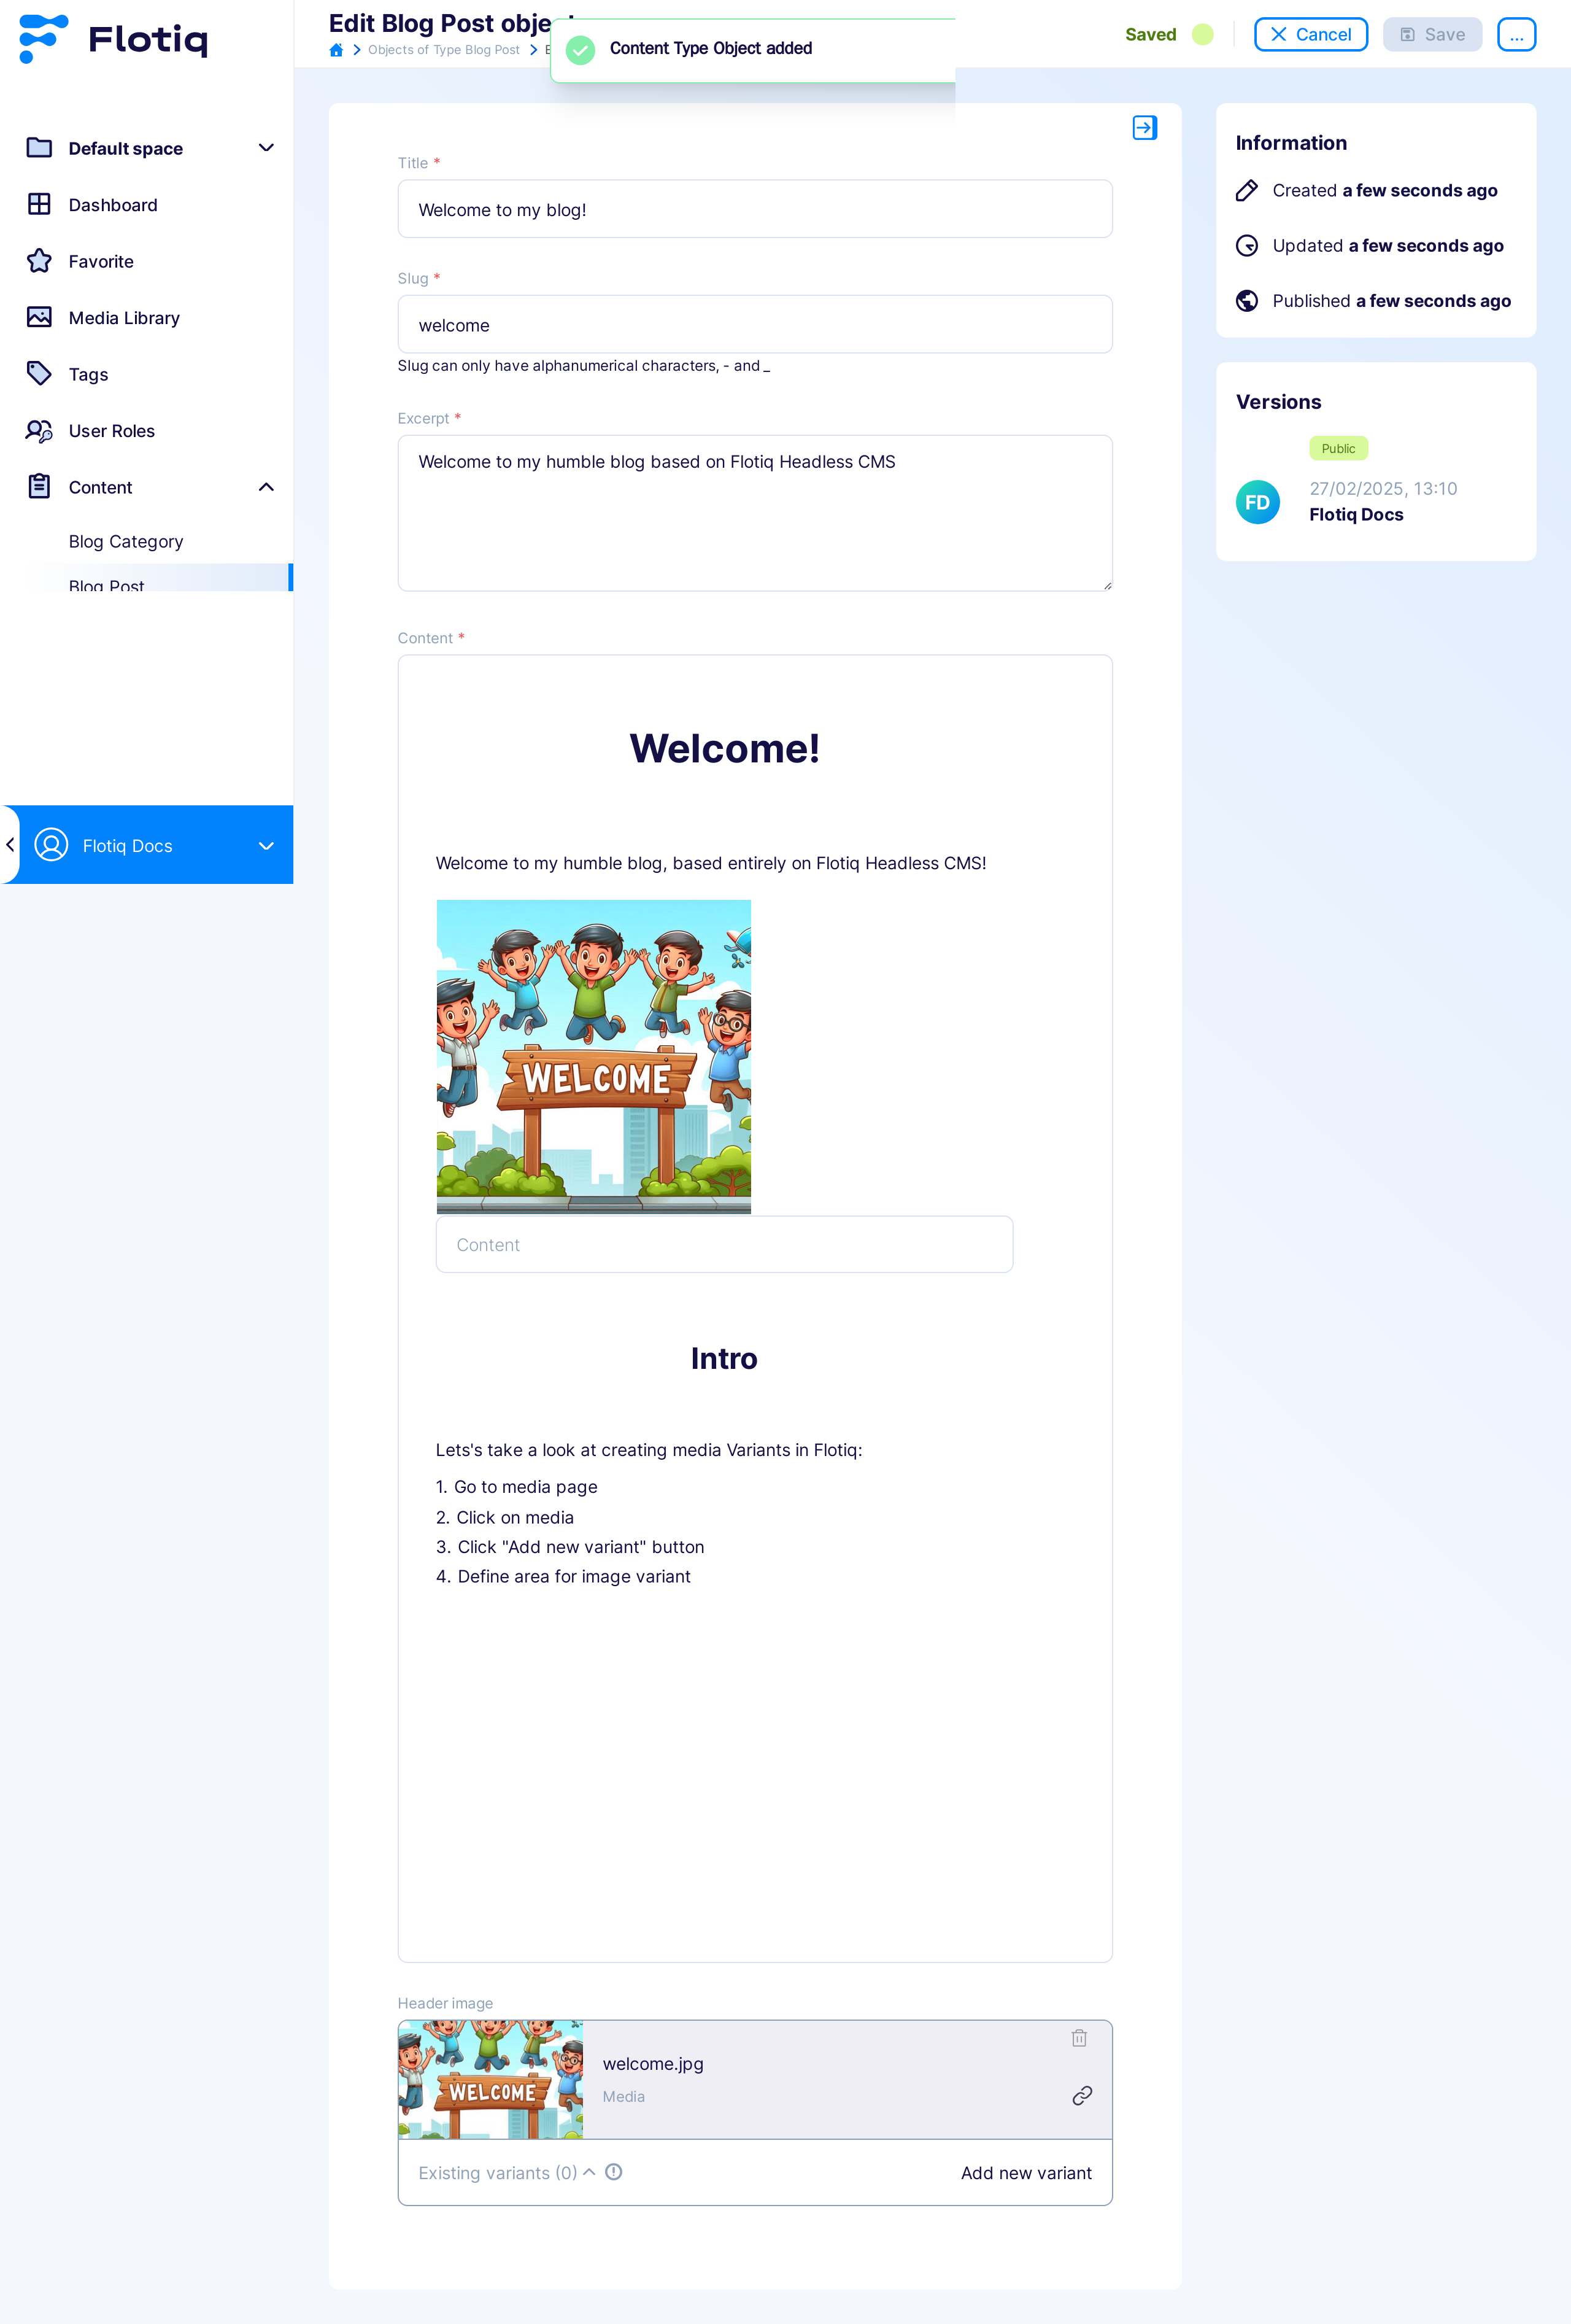
Each time you update a content object, Flotiq automatically saves a new version and lists it in the Versions panel on the right-hand side of the editor. The version log includes the timestamp and the name of the user who made the change, which supports full transparency and encourages collaborative workflows within teams.
If the editor account is deleted, version entries are preserved and remain visible as edits made by a deleted user.
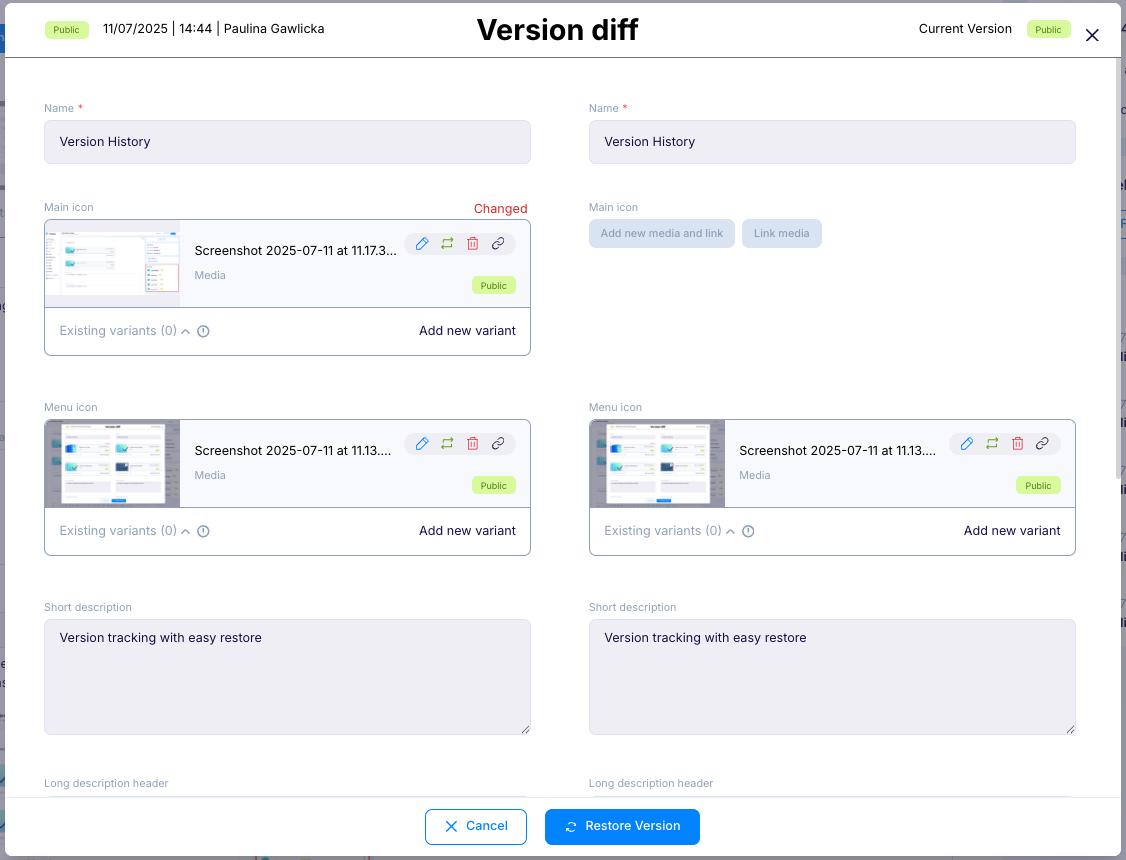
By clicking on a version entry, you can open a Version Diff window, where the current version and the selected historical version are displayed side by side. Any changed fields are clearly highlighted. This makes it easy to review differences and decide whether to revert.
Collaboration (beta)
Flotiq supports collaboration when users edit the same Content Object.
The feature is currently in beta and works in the Content Object form.
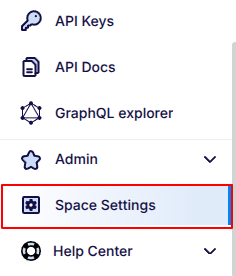
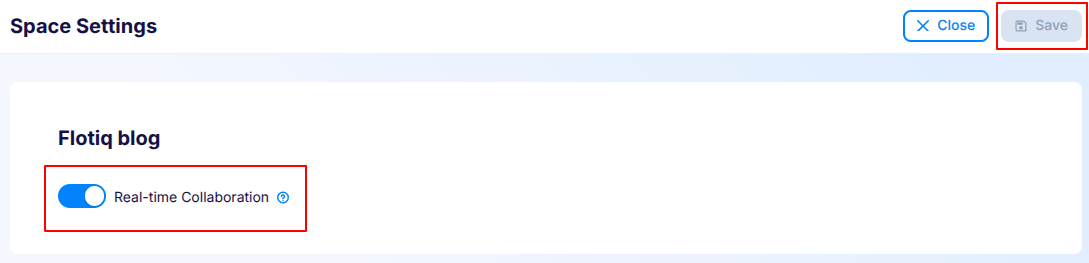
You can enable this feature in Space Settings from the left menu.
To save changes in Collaboration settings, you need to click Save button in right top corner of the form.
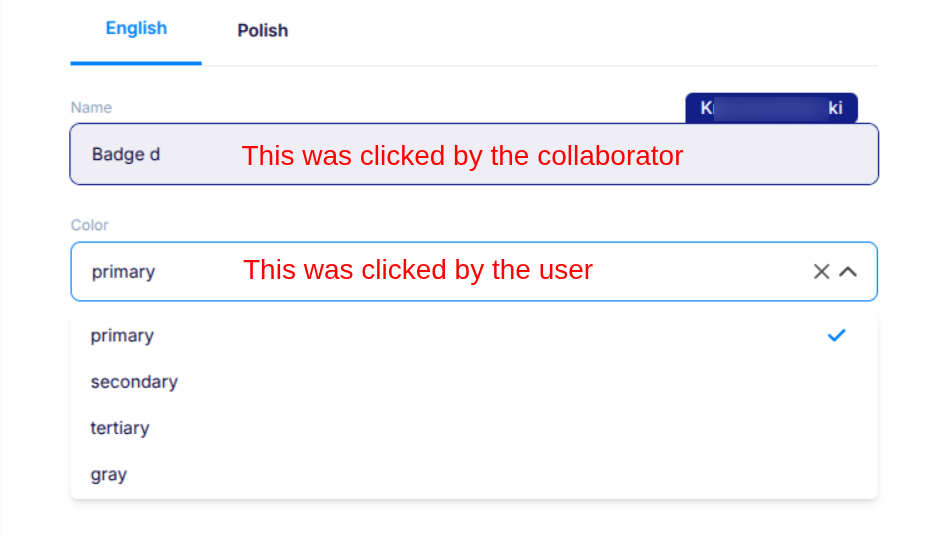
When more than one user opens the same Content Object form, the editor shows who else is editing that object. It also shows their changes directly in the form.
Collaboration is available only in the Content Object form.
If more than one person changes an object, clicking Save saves all current changes at once.
All saved changes are attributed to the user who clicked Save.
Thumbnails in content object grids
Flotiq displays image thumbnails directly in the content object grid for any content type that includes a media field. No plugin or extra configuration is required.
When a content object contains an image, the grid shows a preview thumbnail instead of a generic link icon. Clicking the thumbnail opens a modal with a larger version of the image.


Mass edit
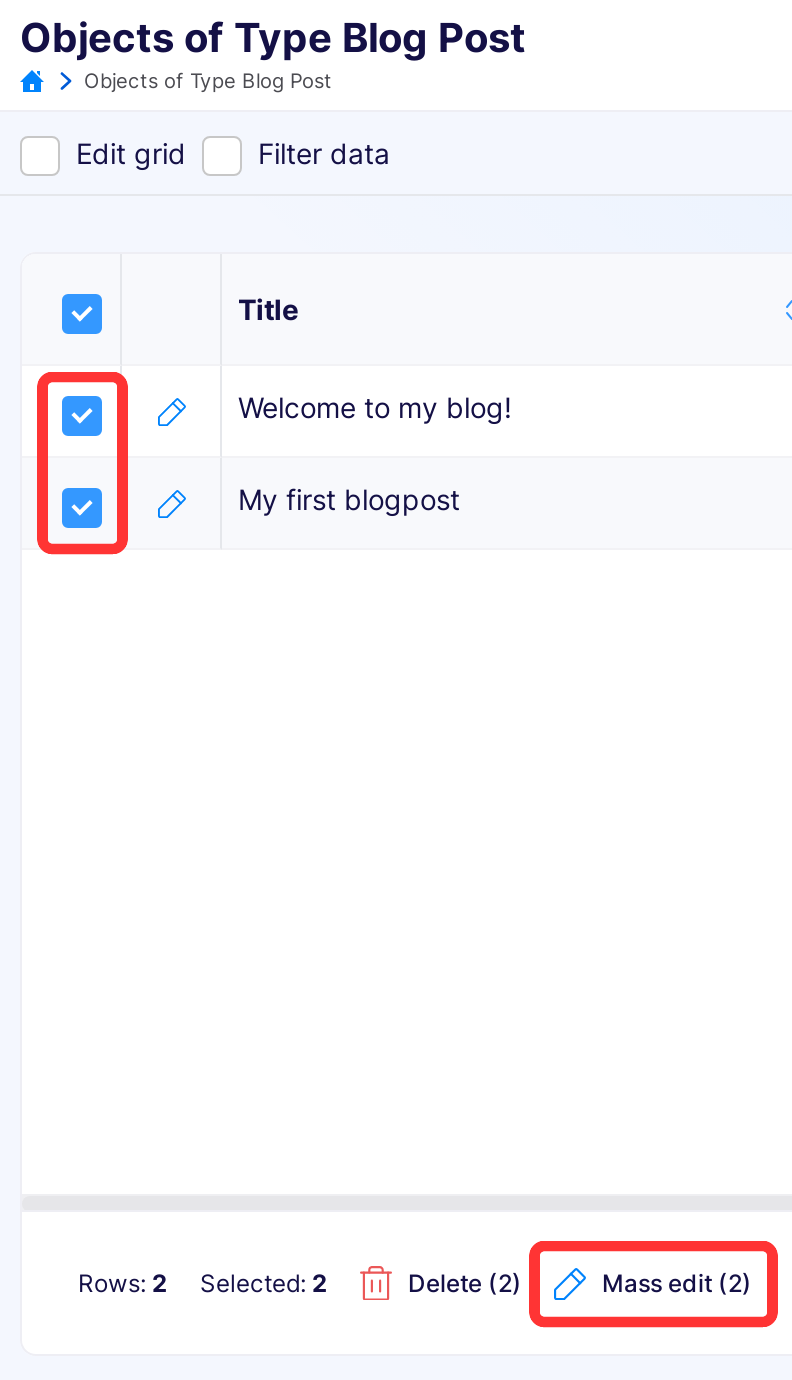
You can edit multiple objects at the same time. To do that you need to select needed objects in grid and then click
Mass edit selected button that appears at Actions menu
You can change fields that are not read only and are not unique (unless you edit only one object using mass edit).
To edit particular field you need to turn on Edit field switch on the left of that field,
the field will become enabled. If you insert data in the field, but turn off the switch, the data will not be saved.
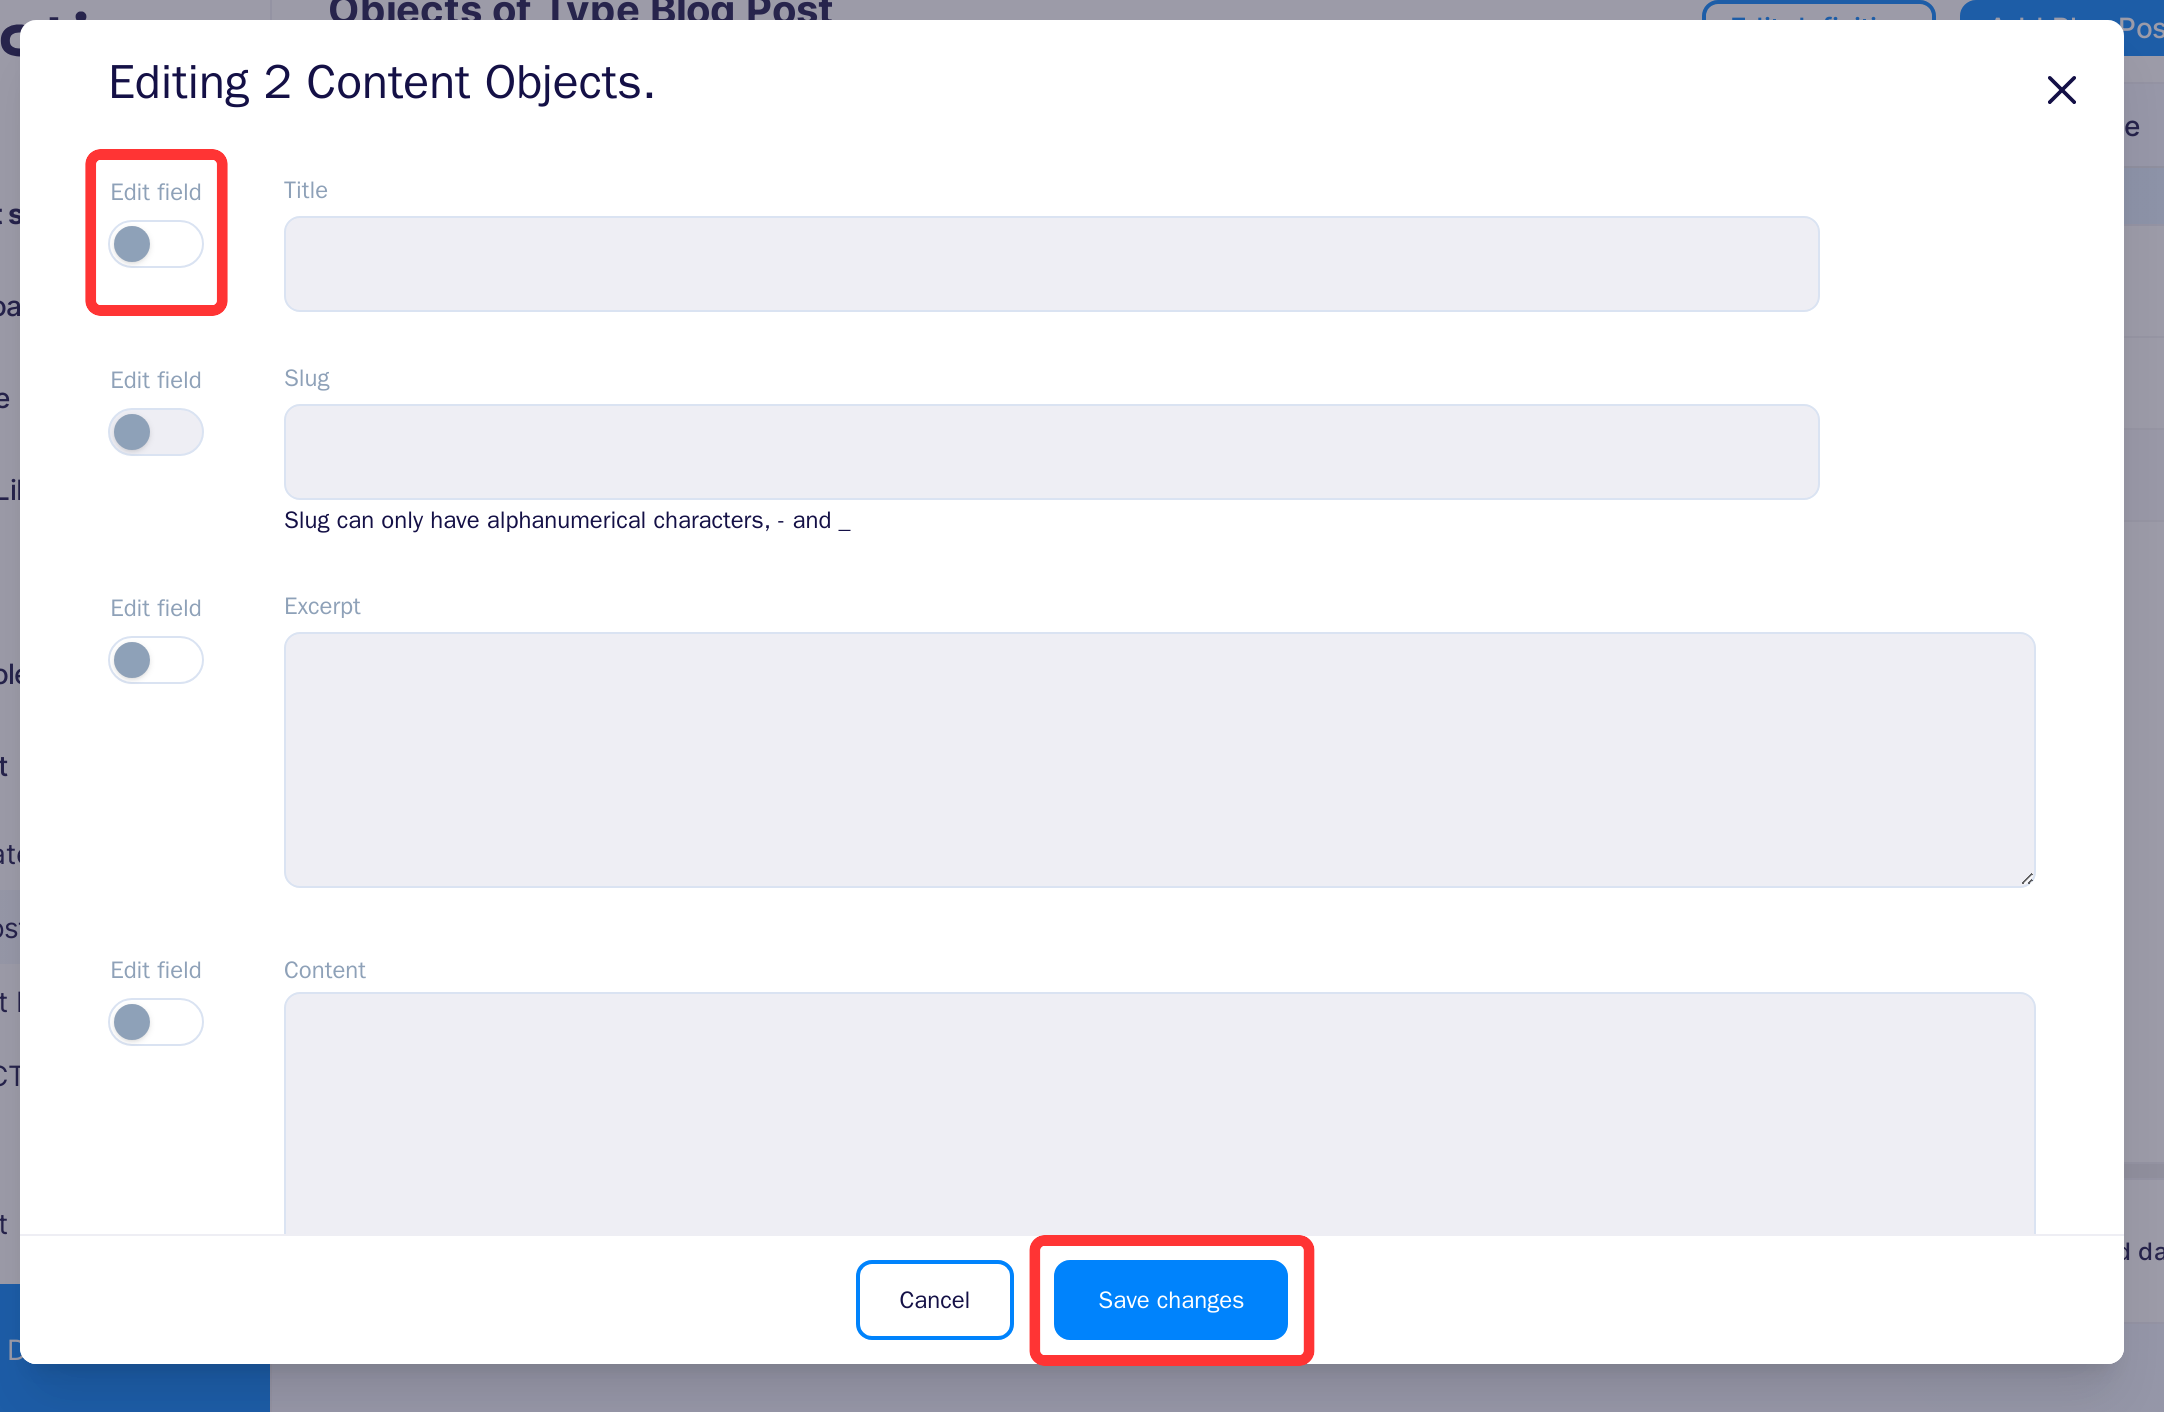
To accept the changes click Save changes button in the modal.
If all the data are correct the modal will disappear and toast with number of updated object will appear.
If something was wrong the errors will appear in modal nest to fields that are incorrect.