Users
This page explains how to manage Users, including your own settings, using the Flotiq Dashboard.
Hint
Only Organization Admin can manage users in an Organization. In API and internal role names, this role is represented as ROLE_HEADLESS_ADMIN (legacy wording: headless admin). If you do not have this role, you will not see the Users tab.
Who can manage users
- Organization Admin can invite, edit, and delete users in the Organization.
- Content Editor is a Space role. It can manage content in assigned Spaces but cannot manage Organization users, Spaces, or billing.
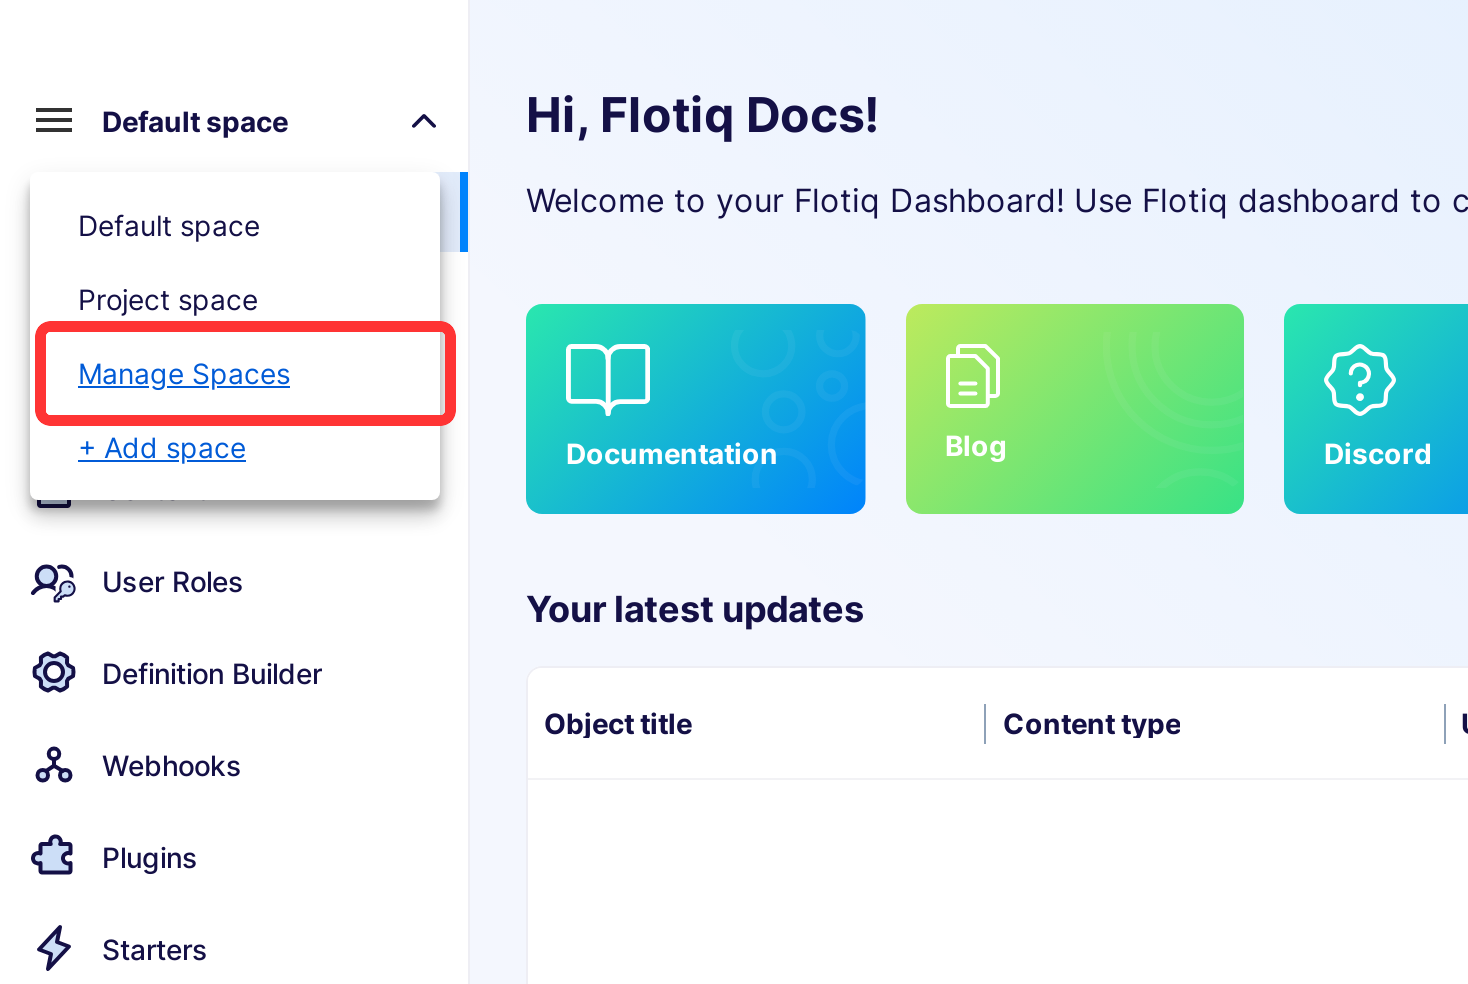
To manage users, navigate to Manage Spaces or Organization Settings.
Listing users
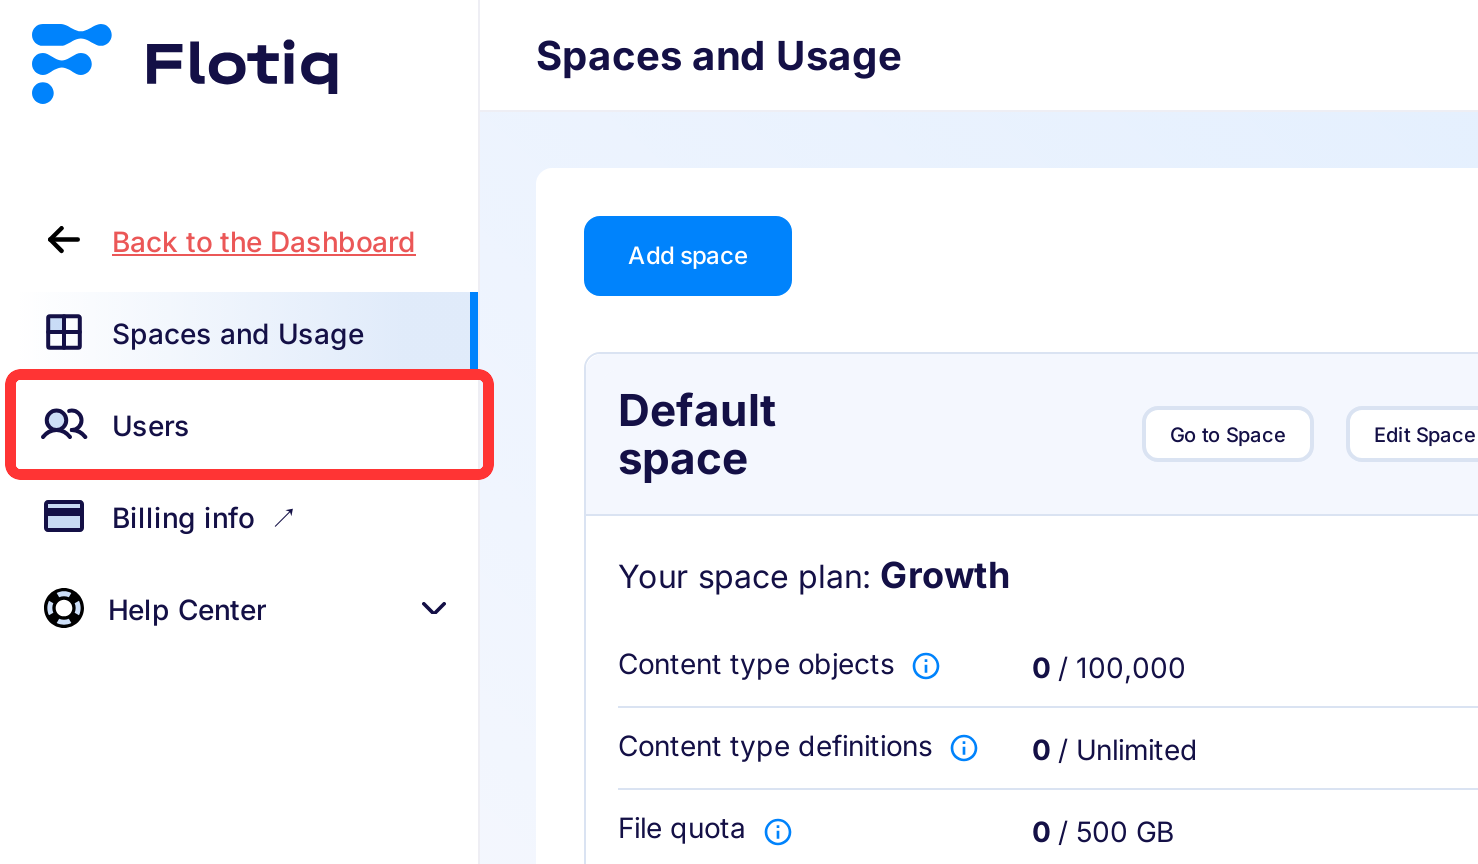
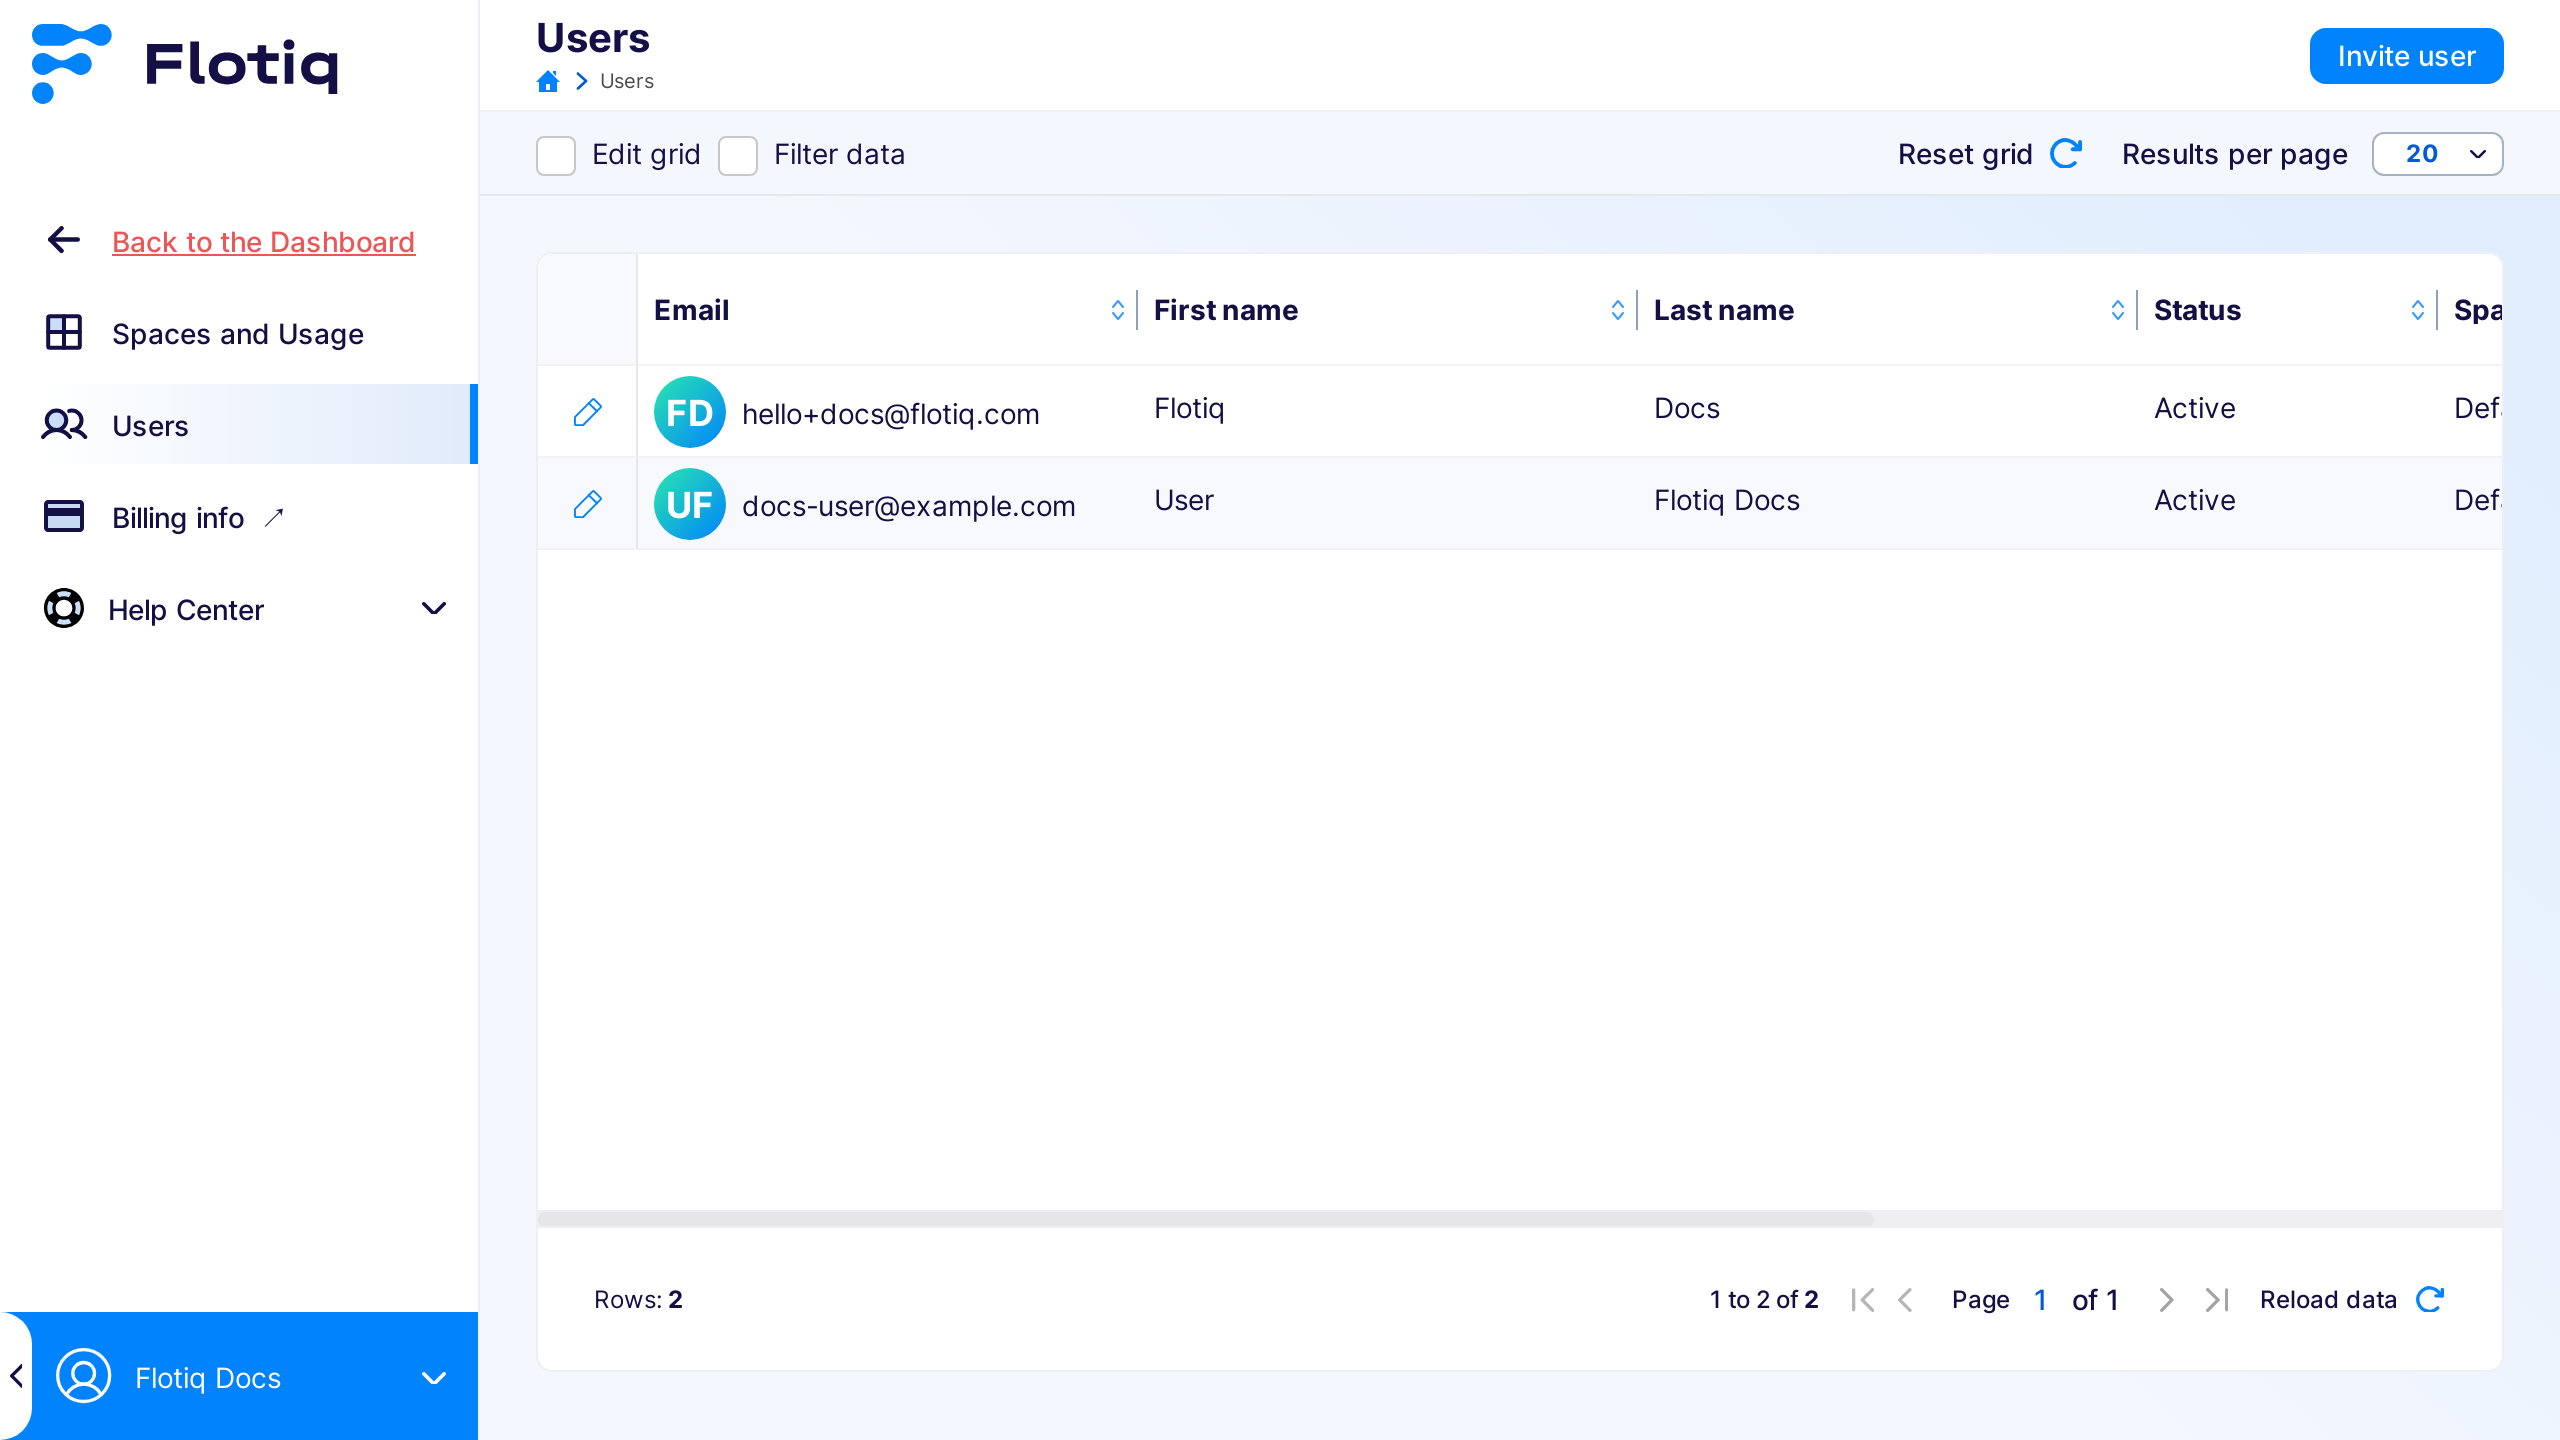
Click Users in the menu on the left to get to users list:
If you don't have any new user added, you will see only your own user on the list.
Adding new User 1
You can invite more team members to your Flotiq project by clicking the Invite User button in the Users tab, which opens user editor.

When adding new user you have to define its: Email and Name. After saving, an invitation email will be sent to the provided address.
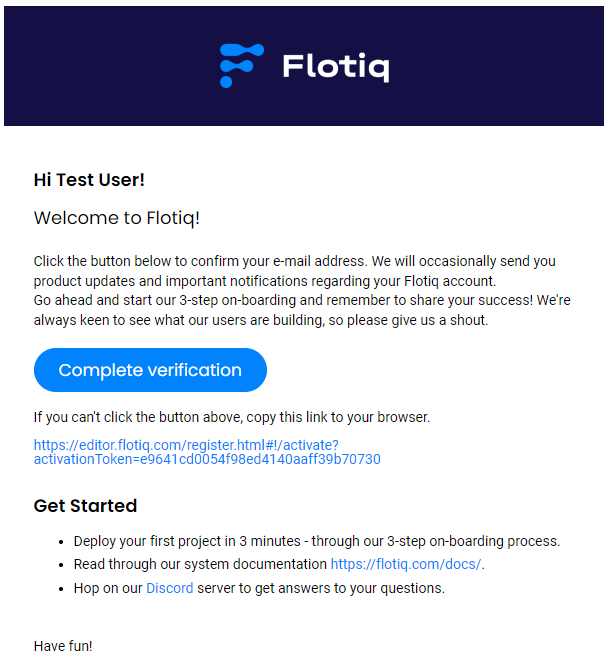
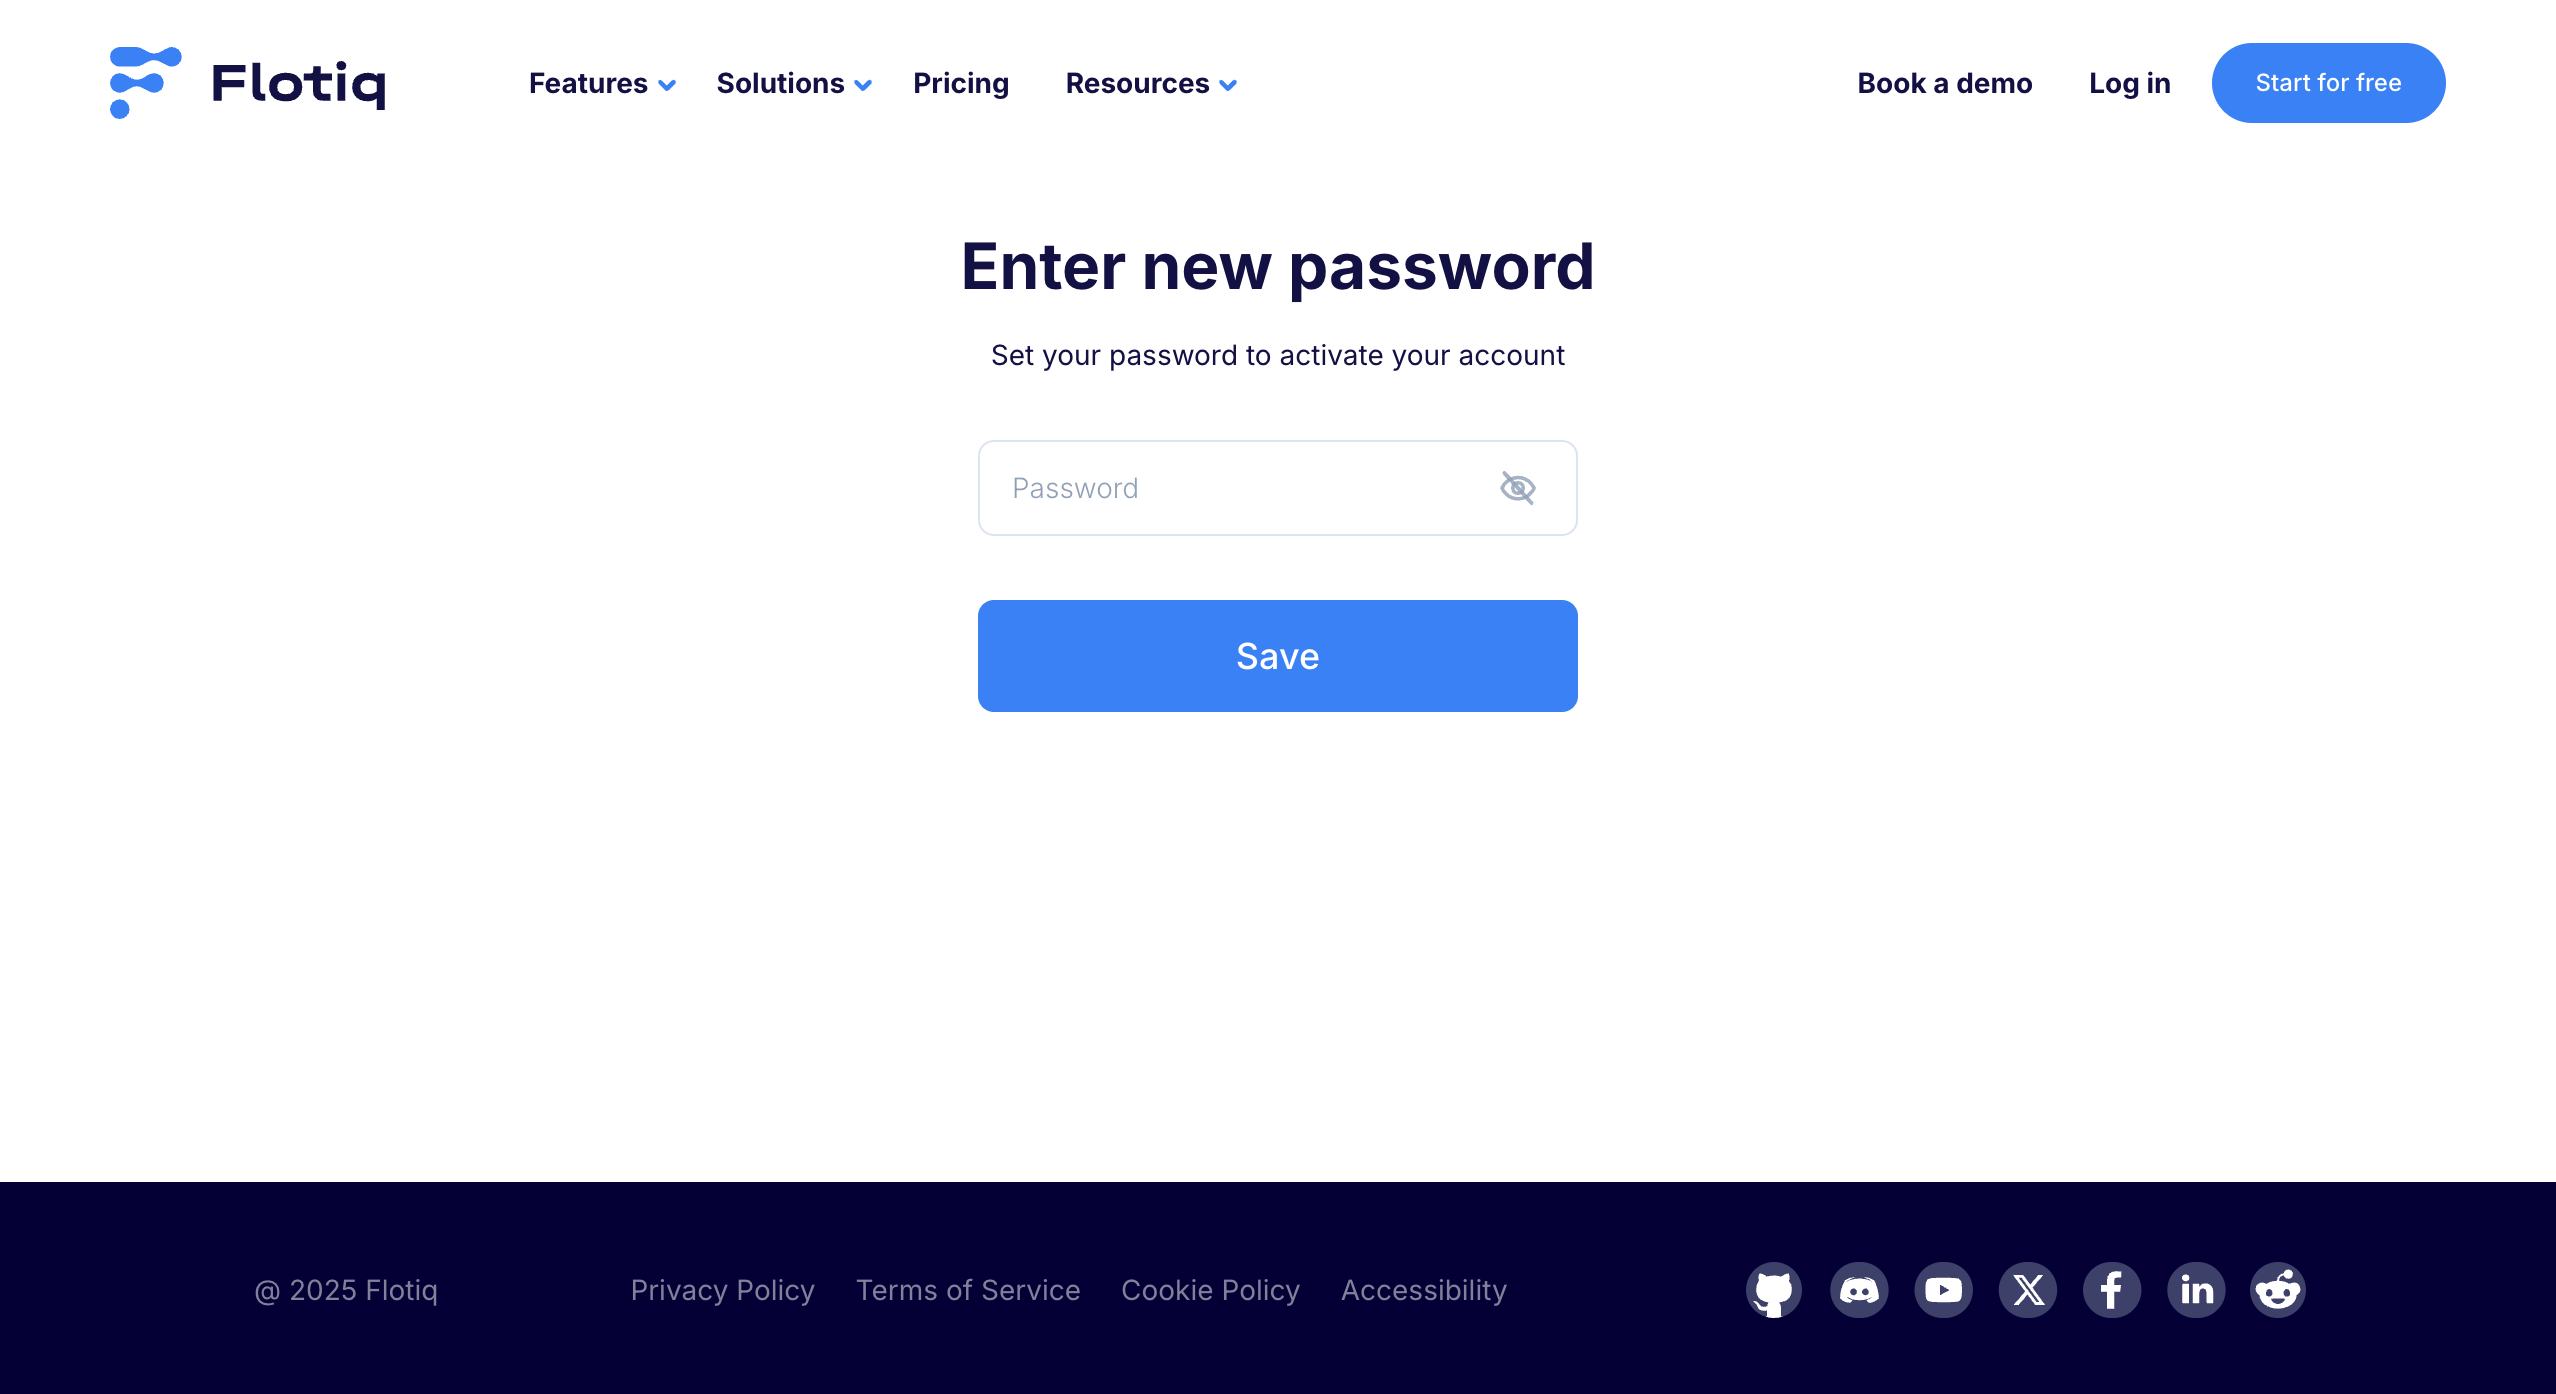
Once the new user accepts the invitation, they will be prompted to set a password, completing the onboarding process.
Editing users
When browsing users list in Users tab from the left panel, you can make changes to your user by clicking the pencil icon, which will open the Edit User tab.
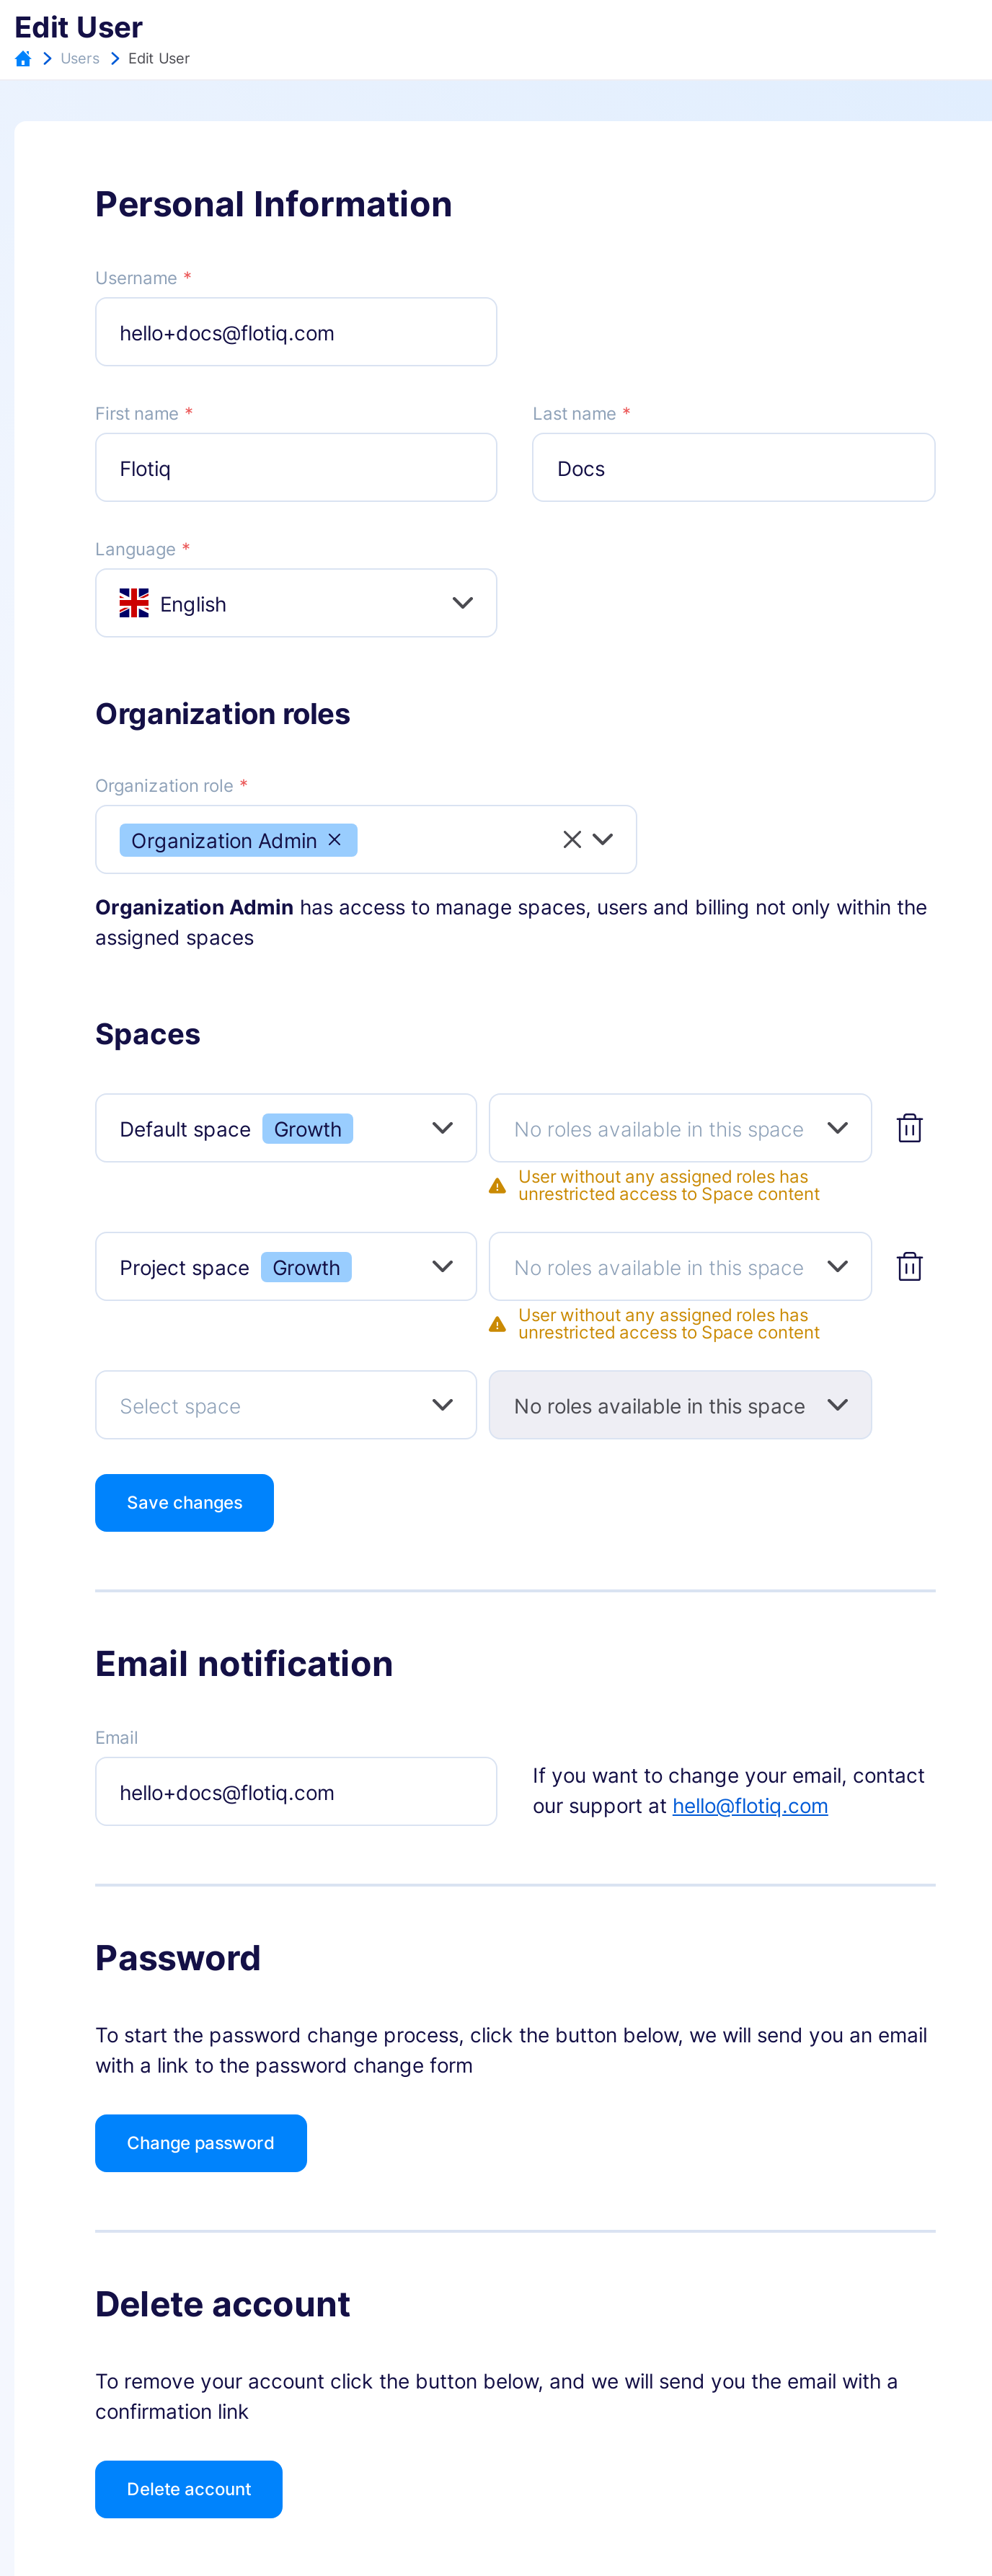
Here you can change your settings, like your name and password, but also edit your email subscription preferences, or the user.
Deleting users
Users can be permanently deleted from the project only by an Organization Admin user (sometimes labeled headless admin).
Warning
Deleting a user is permanent and cannot be undone.
What happens after deleting a user
- Content created by the deleted user is not removed.
- Existing Content Objects stay in place and remain available according to their current status and permissions.
- Version History entries are preserved. Changes made by a deleted user are still visible in the history as edits made by a deleted account.
- Personal data of the deleted user is anonymized in the database.