How to add custom domains to free Heroku apps
Caution
Heroku removed its free plan in November 2022.
This article is legacy documentation. The approach still works only for paid Heroku apps.
Heroku is a popular hosting platform, and Deploy to Heroku buttons can integrate with static website generators such as Gatsby. This article was originally written for the old free Heroku plan and custom domain limitations from that period. If you've already built and deployed your blog, for example using this tutorial, this guide explains the historical workaround that was used.
Here's a quick tutorial how to get around this, with Cloudflare Workers.
Caution
Prerequisites:
- Cloudflare account (free)
- Cloudflare Workers enabled (free)
- Flotiq account (free)
Cloudflare Workers
Cloudflare is a global CDN (Content Delivery Network), which provides websites across the globe with features like anti-DDoS protection, global content distribution and the possibility to run serverless applications "on the edge".
Cloudflare provides a pretty handy CLI tool to work with your Workers code, you can read more about how to get started from the Cloudflare source directly. In this tutorial, however, we will use the Cloudflare GUI to build the solution.
Creating the worker
Once you log in to your Cloudflare account go to Menu / Workers. From the Workers dashboard select Create Worker.
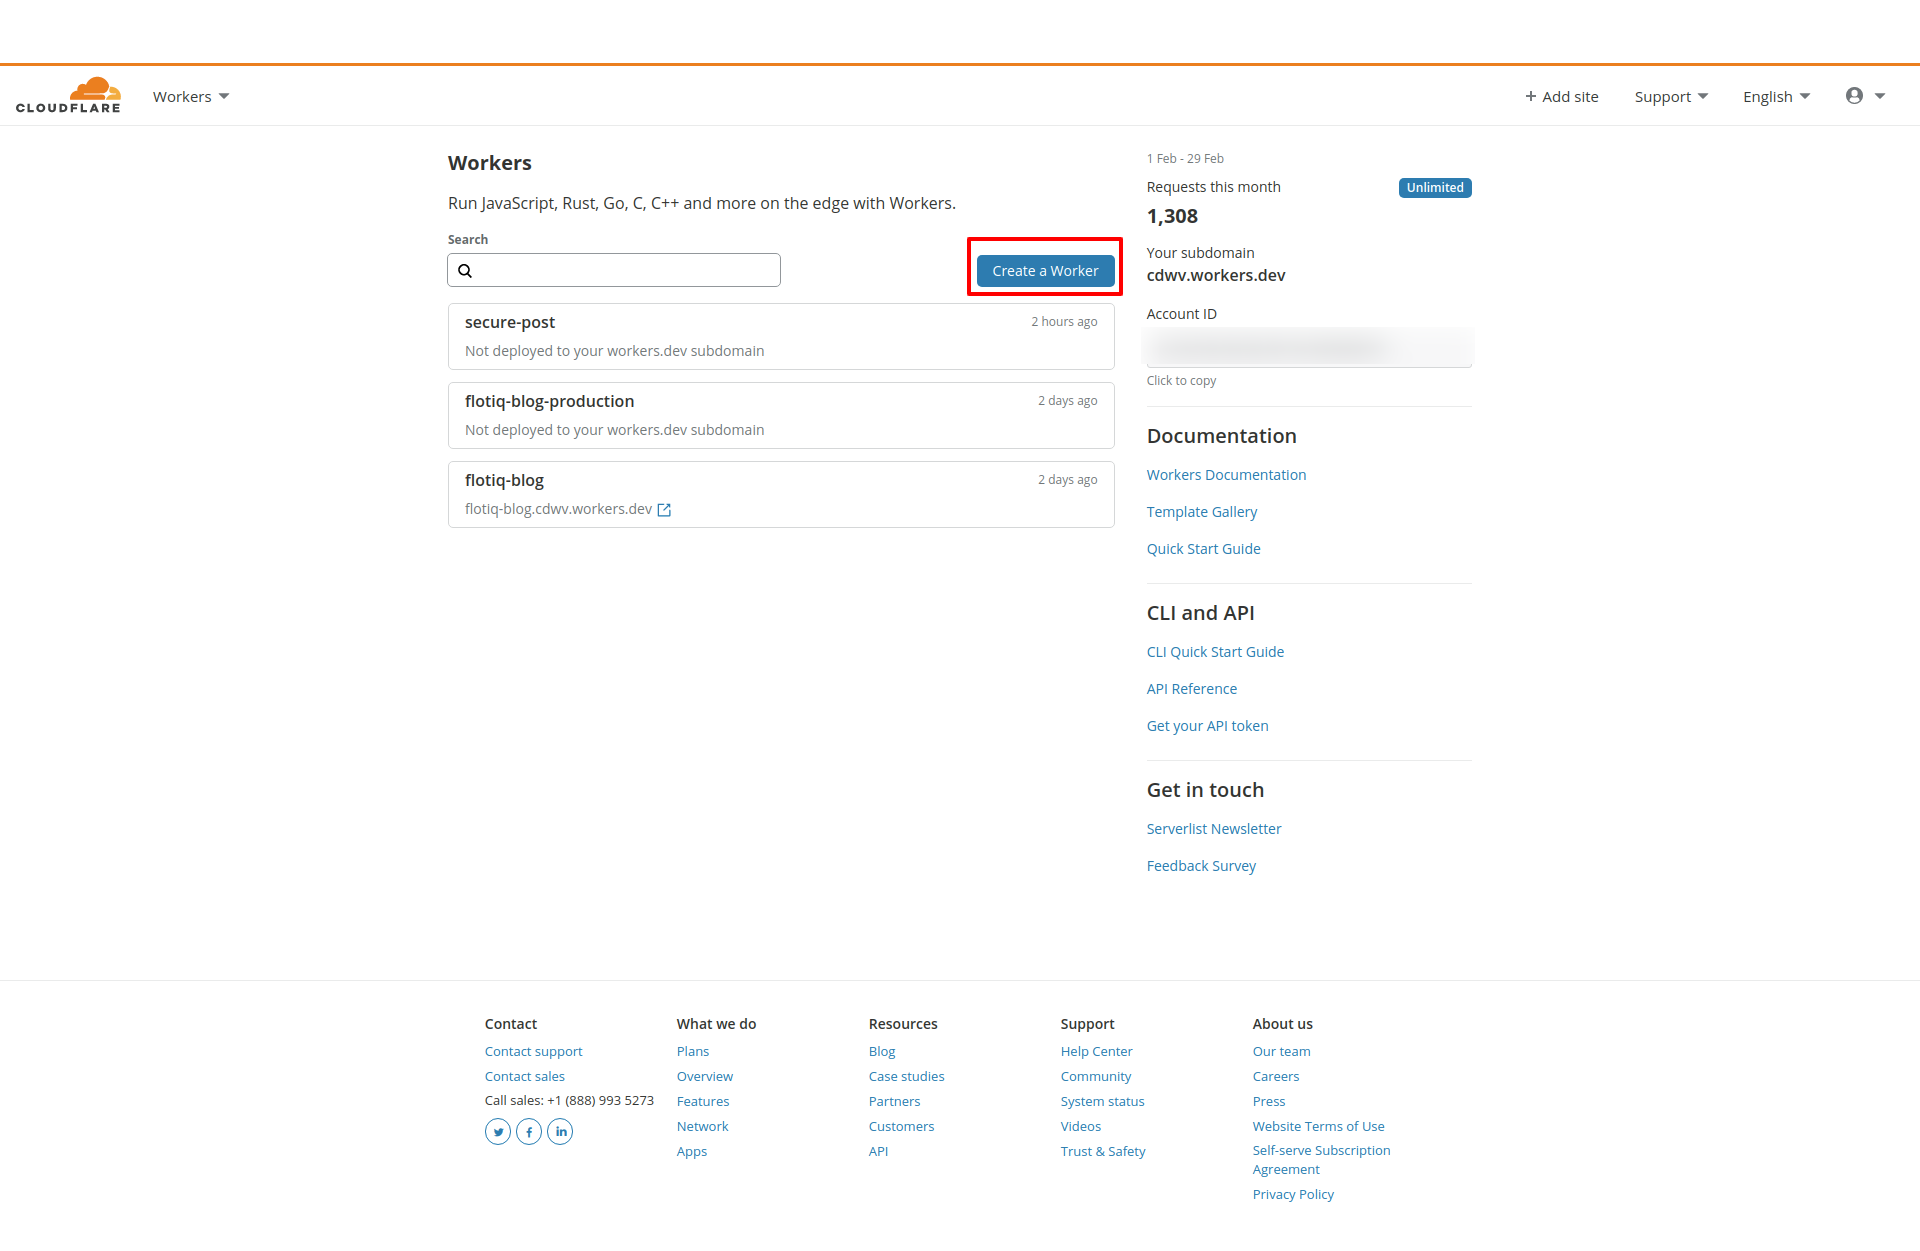
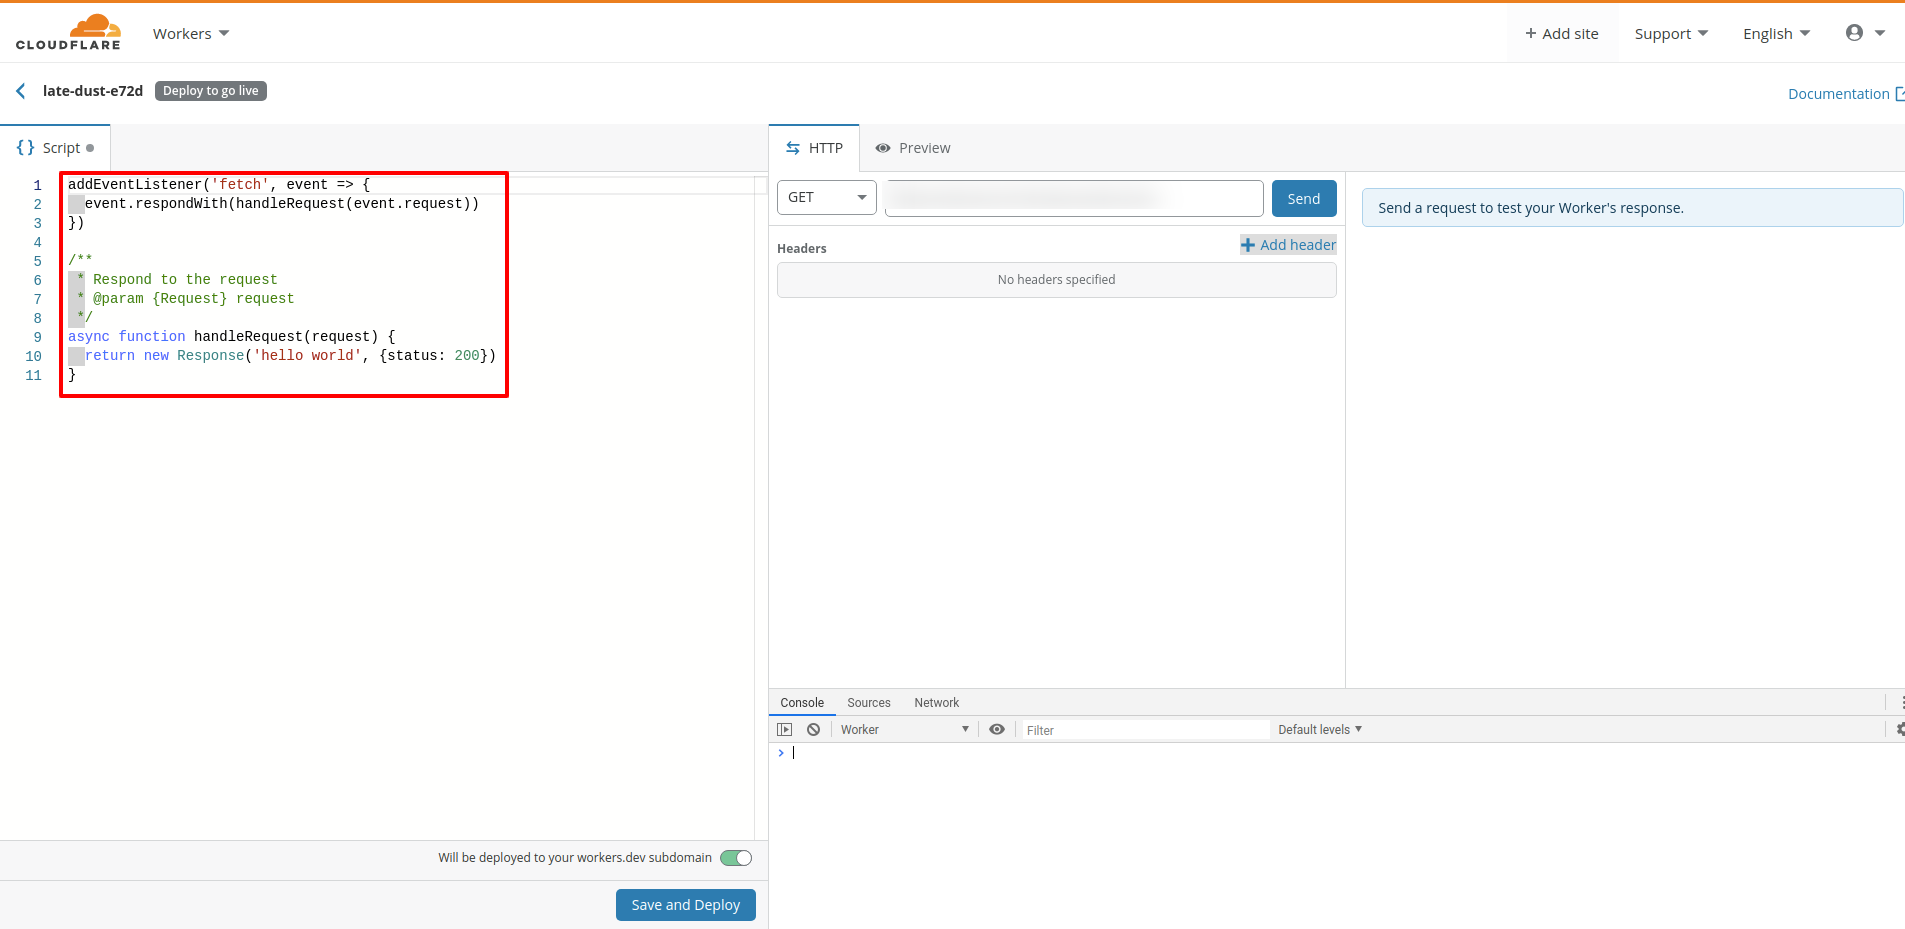
You will be redirected to the Worker editor tool, which will be filled out with a Hello World code for you, this is the part that we'll update next.
Proxying content inside the Worker code
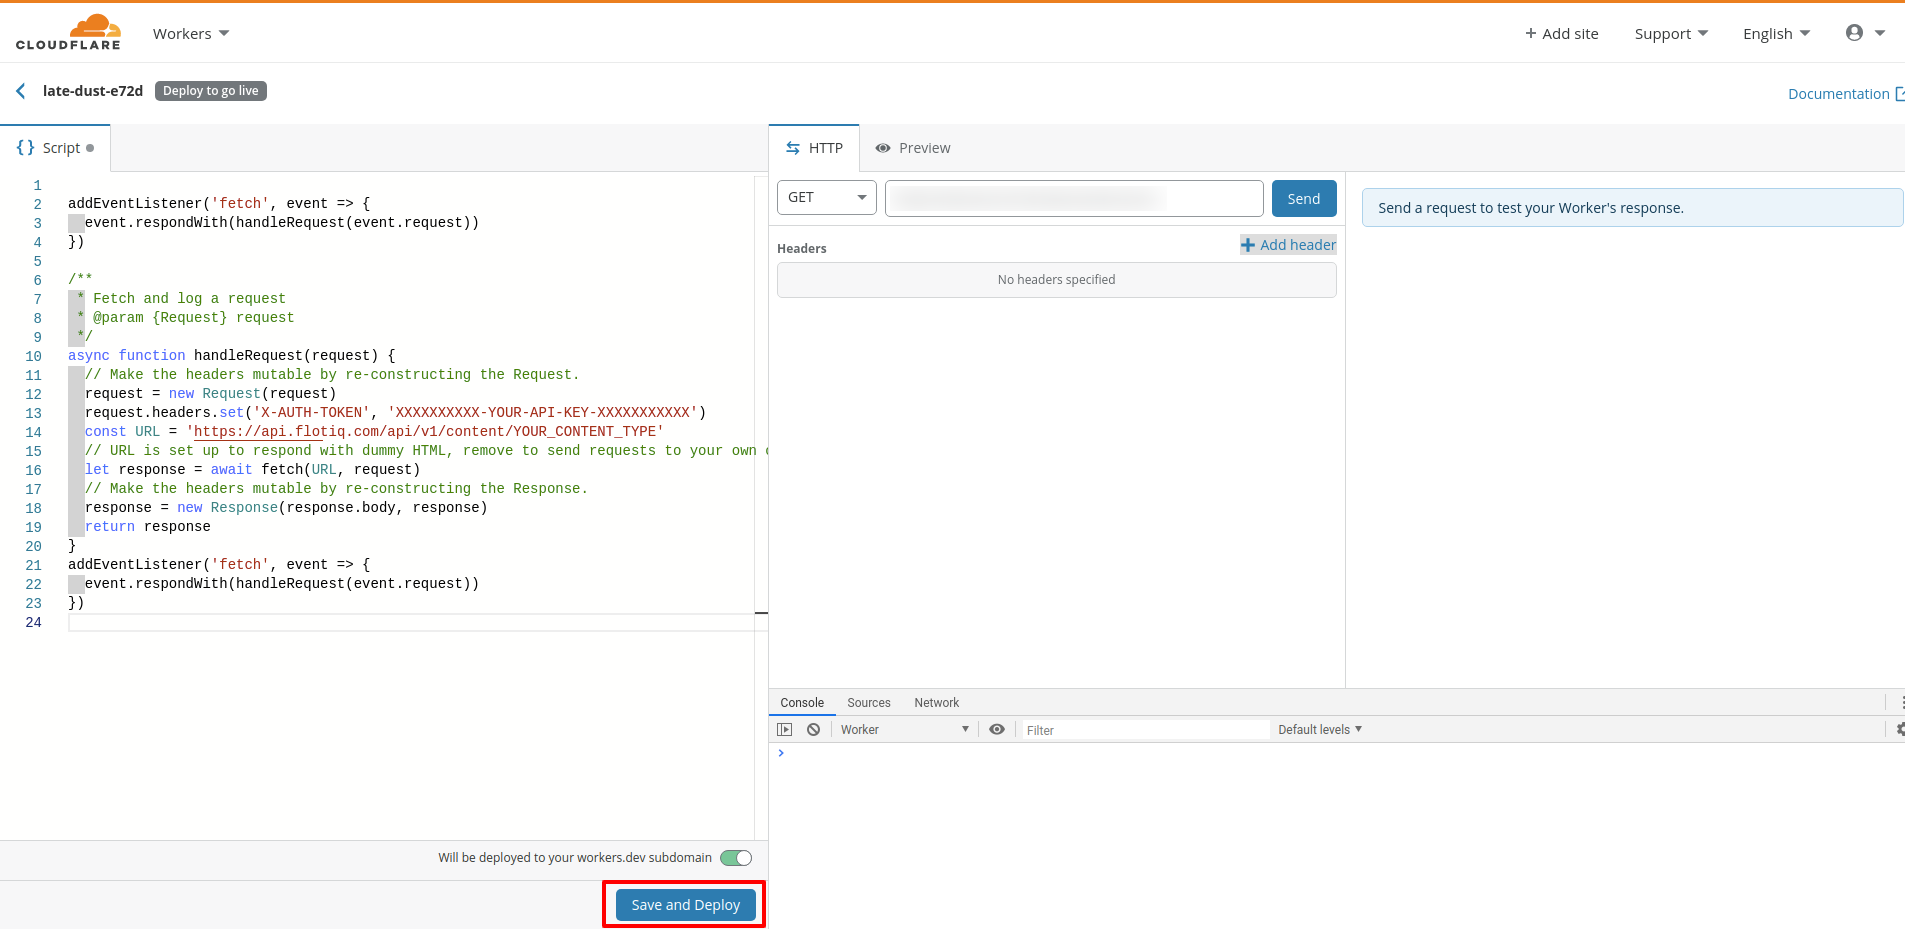
The Worker code below is going to take care of rewriting the URLs from yourdomain.com/blog/* to your.herokuapp.com/*.
// keep track of all our blog endpoints here
const myBlog = {
  hostname: "flotiq-com-blog.herokuapp.com",
  targetSubdirectory: "/blog",
  assetsPathnames: ["/public/", "/assets/"]
}

async function handleRequest(request) {
  // returns an empty string or a path if one exists
  const formatPath = (url) => {
    const pruned = url.pathname.split("/").filter(part => part)
    return pruned && pruned.length > 1 ? `${pruned.join("/")}` : ""
  }

  const parsedUrl = new URL(request.url)
  const requestMatches = match => new RegExp(match).test(parsedUrl.pathname)

  // if its blog html, get it
  if (requestMatches(myBlog.targetSubdirectory)) {
    console.log("this is a request for a blog document", parsedUrl.pathname)
    const targetPath = formatPath(parsedUrl).substr(myBlog.targetSubdirectory.length)
    return fetch(`https://${myBlog.hostname}/${targetPath}`)
  }

  // if its blog assets, get them
  if ([myBlog.assetsPathnames].some(requestMatches)) {
    console.log("this is a request for blog assets", parsedUrl.pathname)
    const assetUrl = request.url.replace(parsedUrl.hostname, myBlog.hostname);

    return fetch(assetUrl)
  }

  console.log("this is a request to my root domain", parsedUrl.host, parsedUrl.pathname);
  // if its not a request blog related stuff, do nothing
  return fetch(request)
}

addEventListener("fetch", event => {
  event.respondWith(handleRequest(event.request))
})
which is adapted from this Cloudflare article.
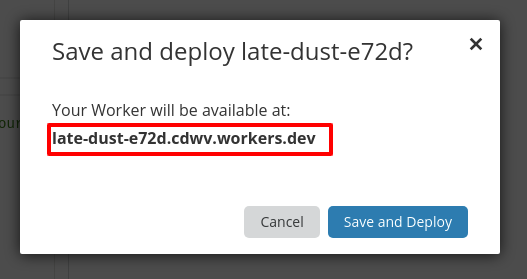
Simply paste this code in the Worker editor, replacing the original Hello World code. Don't forget to update your Heroku APP URL. Next - click Save and Deploy.
That's it! Cloudflare has deployed your worker to an automatically generated endpoint, you can start using it right away, the URL will be presented to you in the confirmation dialog.
Add routing
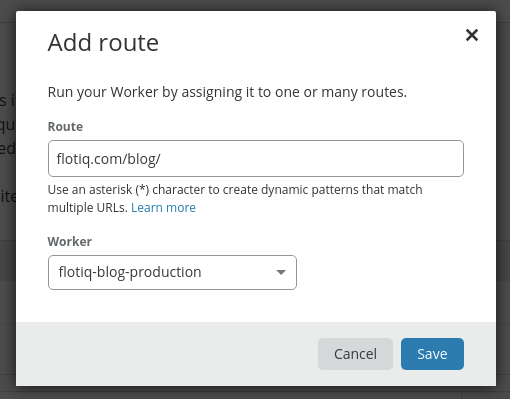
In order to publish your blog under a subfolder of your domain - in your domain dashboard click Workers.

Next, click the Add Route button:

and finally - define the route, where you'd like to display the Heroku-hosted content:
Conclusions
You can use a free Cloudflare Workers account to add custom domains to your free Heroku Apps account.